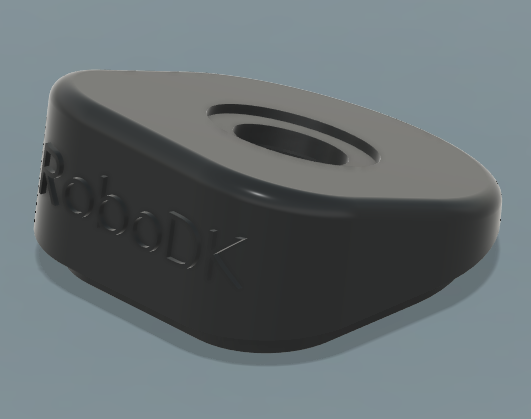
Custom TwinTrack Probe
This section shows how you can build your custom TwinTrack Probe to teach robots by demonstration. A custom probe allows you to make your robots mimic the manufacturing operations taught by a human.
Hardware components
The following list of hardware components allow you to build a custom probe to be used with RoboDK TwinTrack.
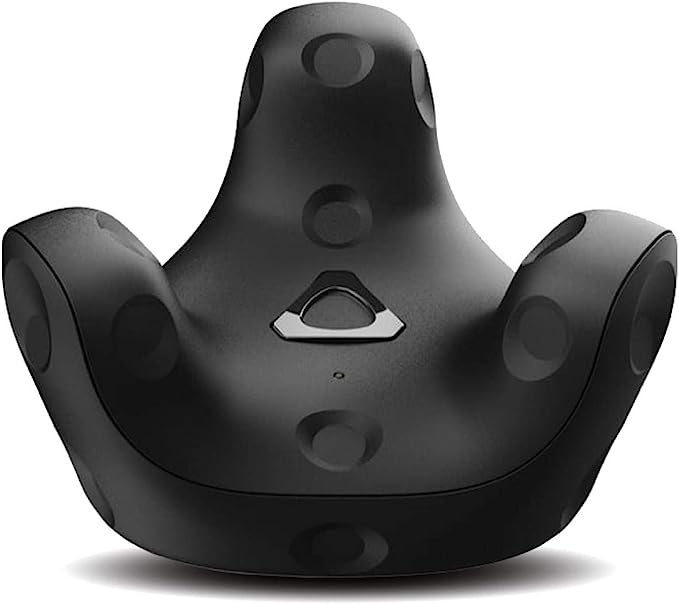
1.One HTC Vive Tracker (any version supported, 3.0 recommended): HTC Vive Tracker 3 On Amazon. Price estimate: 200 EUR.
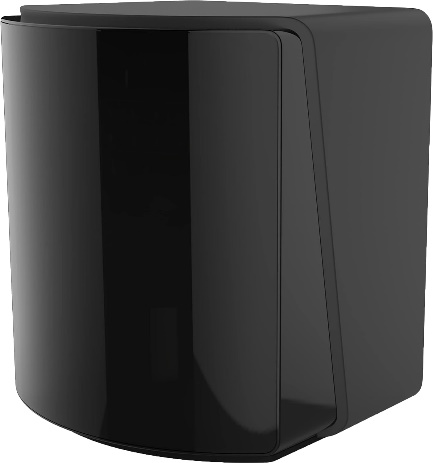
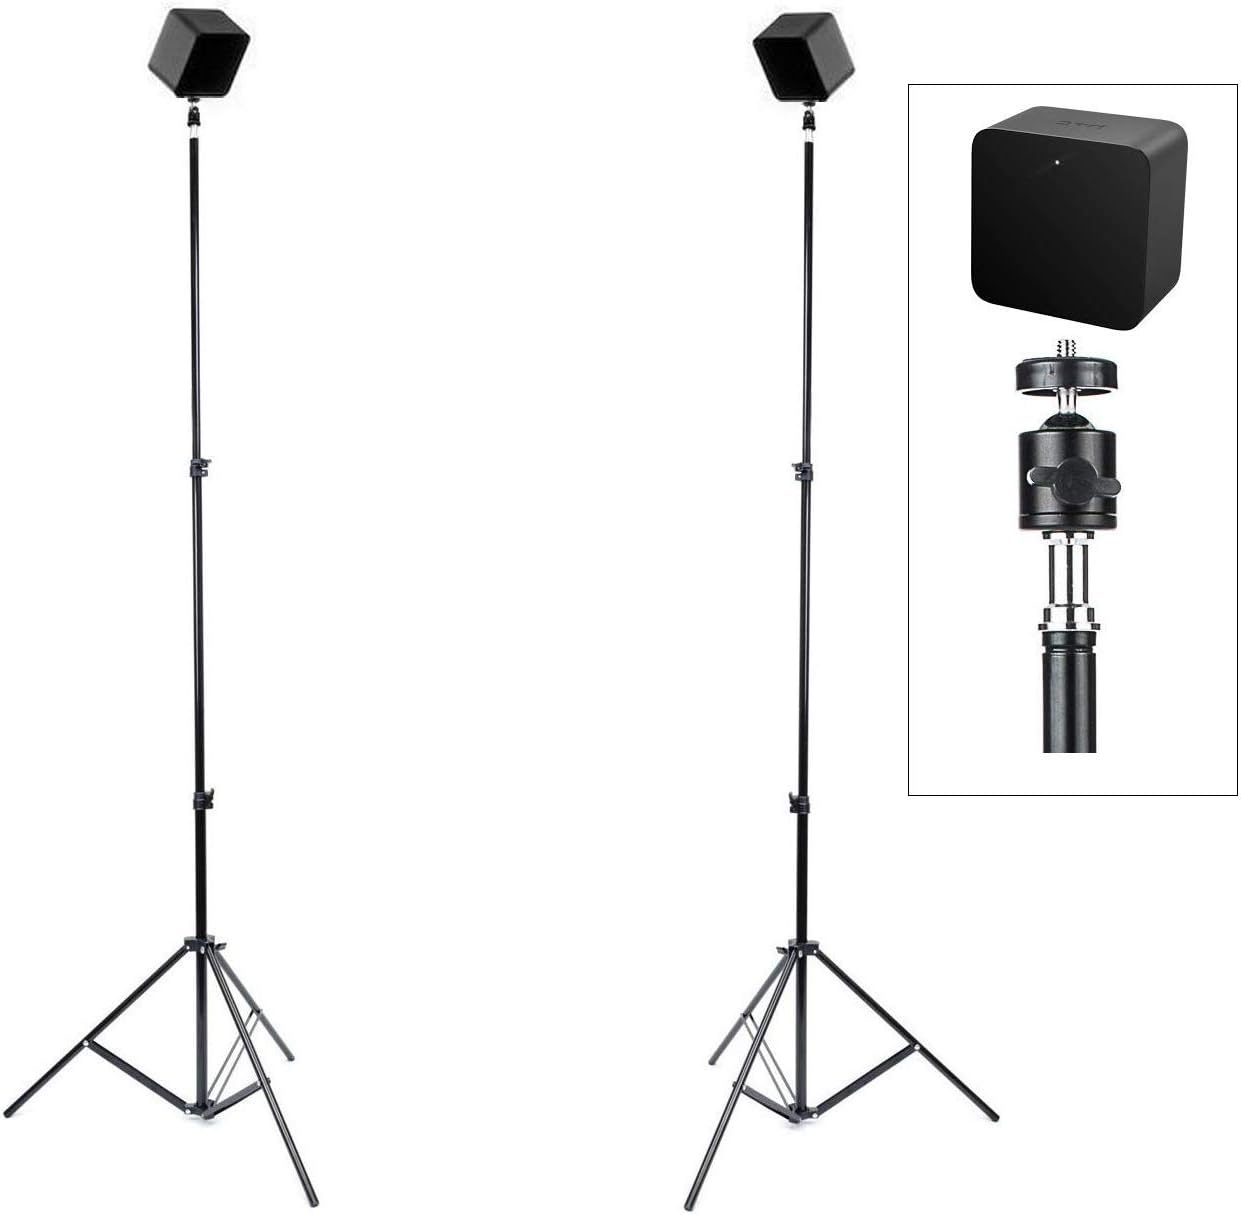
2.Two Valve Index Base stations. Actually any version should work as long as it is compatible with the corresponding HTV Vive Tracker. Valve Base stations on Amazon. Price estimate: 500 EUR for both units.
3.Two tripods for the Valve Base stations. Sample part on Amazon. Price estimate: 100 EUR.
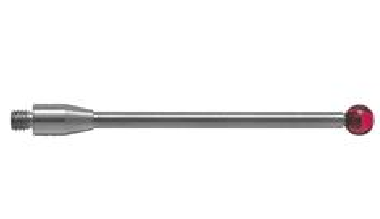
4.One Renishaw ruby ball with 40 mm length and 4 mm diameter. Such as the A-5003-0060. Price estimate: 80 EUR.
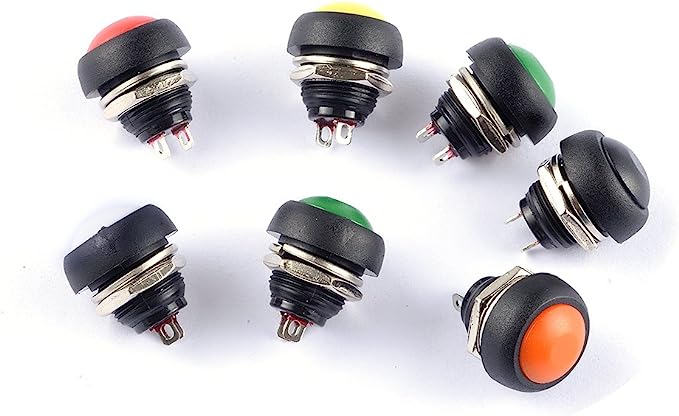
5.Two Push button switches, one red and one green, 12 mm diameter. Pressing the button powers on (closes the circuit), releasing the button powers off (open circuit): Example product on Amazon. Price estimate: 15 EUR.
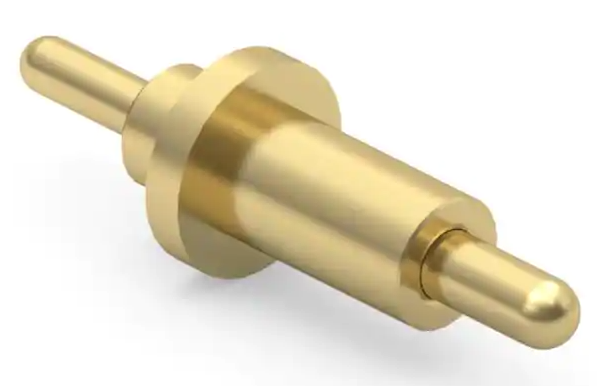
6.Three Spring loaded pogo pins 0856-0-15-20-82-14-11-0 (3 units). Sample product from DigiKey . Price estimate: 20 EUR.
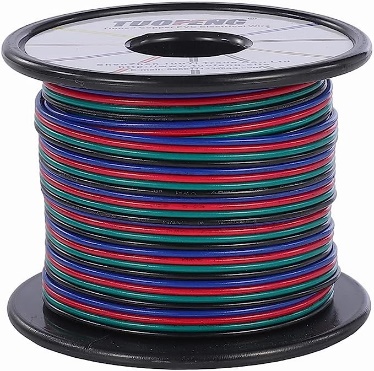
7.Electric wire to connect the switches (less than 1m). Sample order on Amazon. Price estimate: 25 EUR.
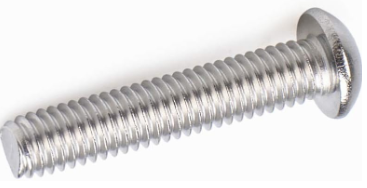
8.One button head socket cap screw ¼-20 x 1”: Sample product on Amazon open. Price estimate: 10 EUR.
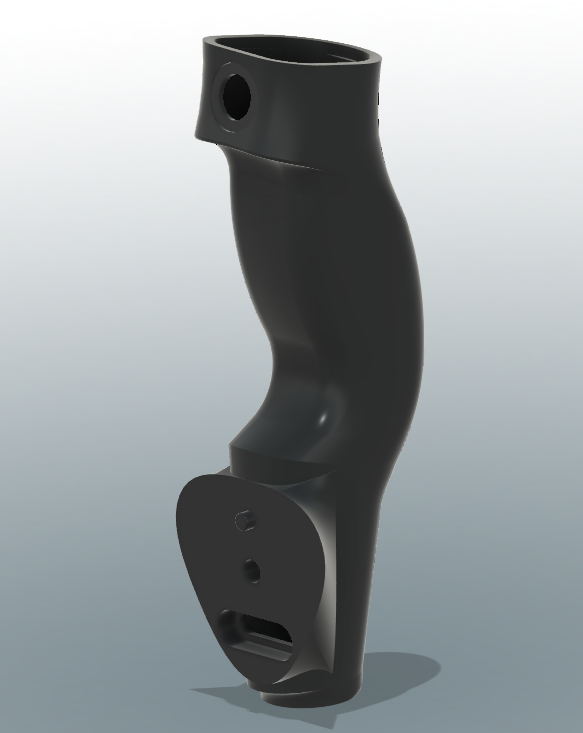
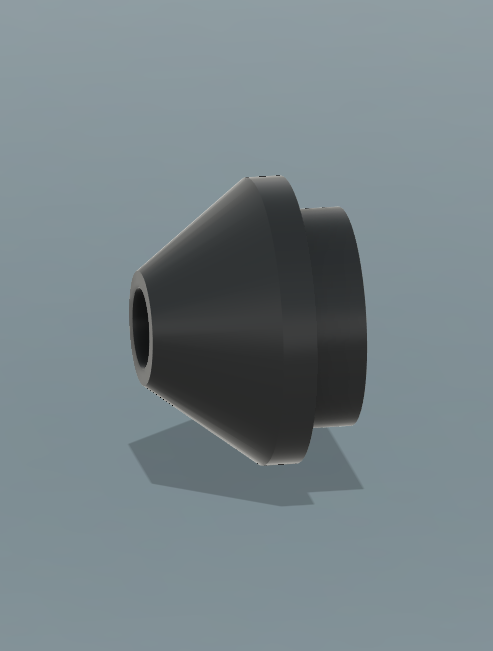
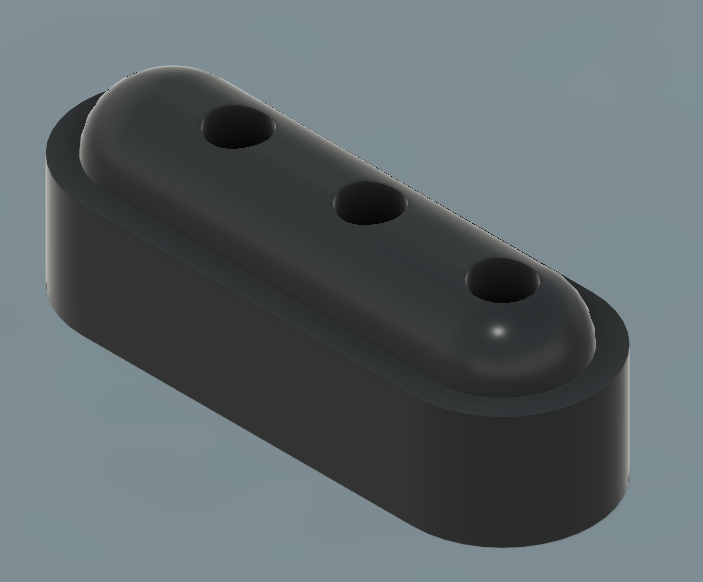
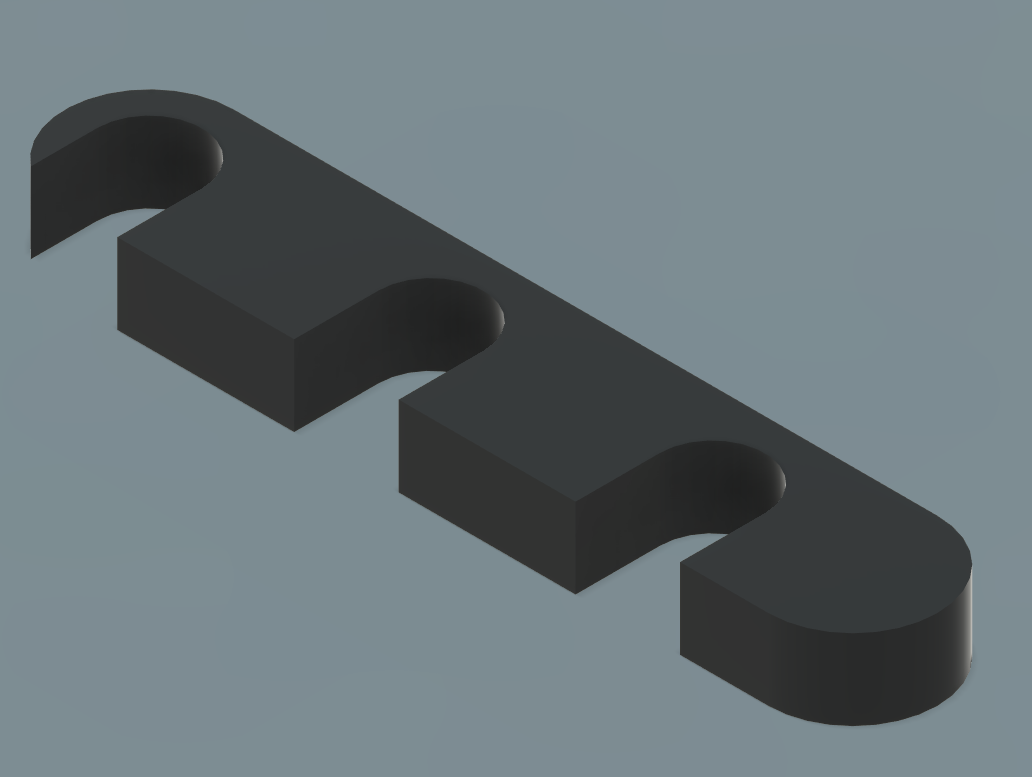
9.Five 3D printed parts, the main body, the probe holder, the top probe, the tracker connector and the connector cap. You can download the 3D printed parts required to build the TwinTrack probe here. The 3D printed parts of the TwinTrack probe are also available on GrabCad and Thinginverse.
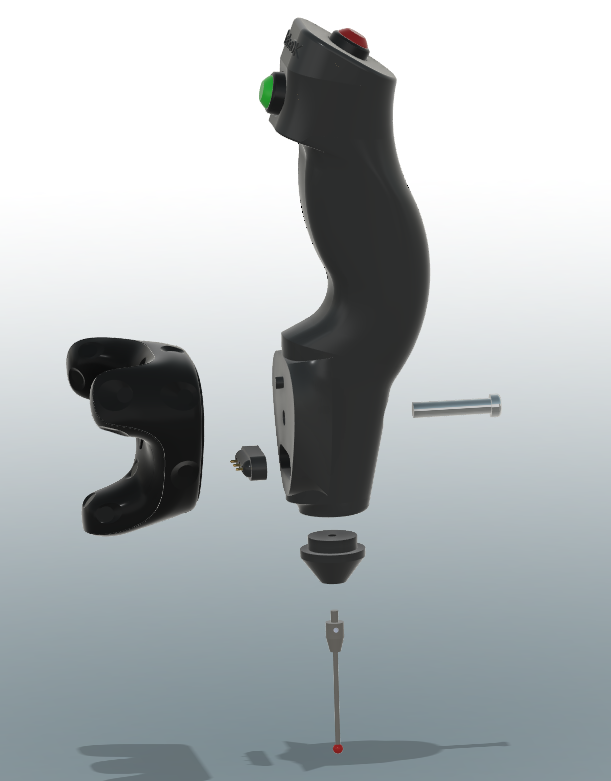
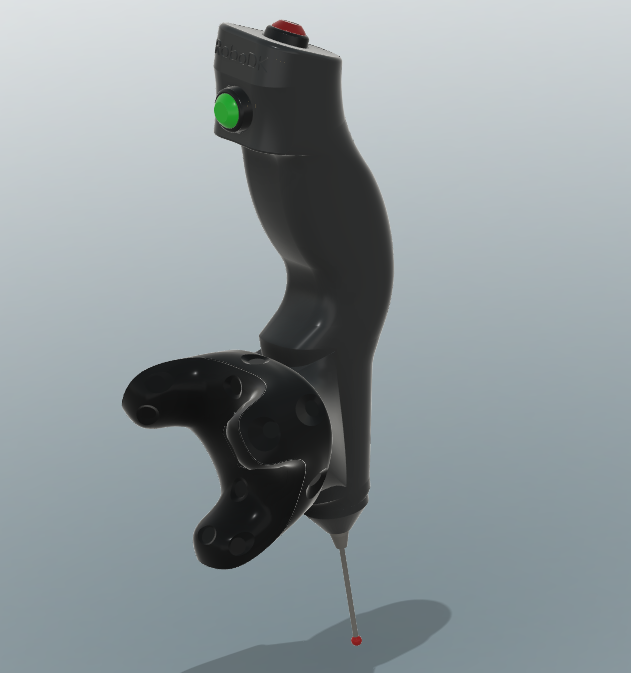
Probe Assembly
This section explains how you can assemble the probe for RoboDK TwinTrack. You’ll need the parts required to build the probe described in the previous section. You’ll also need a soldering iron kit.
Follow these steps to assemble the probe:
1.Assemble the connector as follow and glue the printed pieces together.
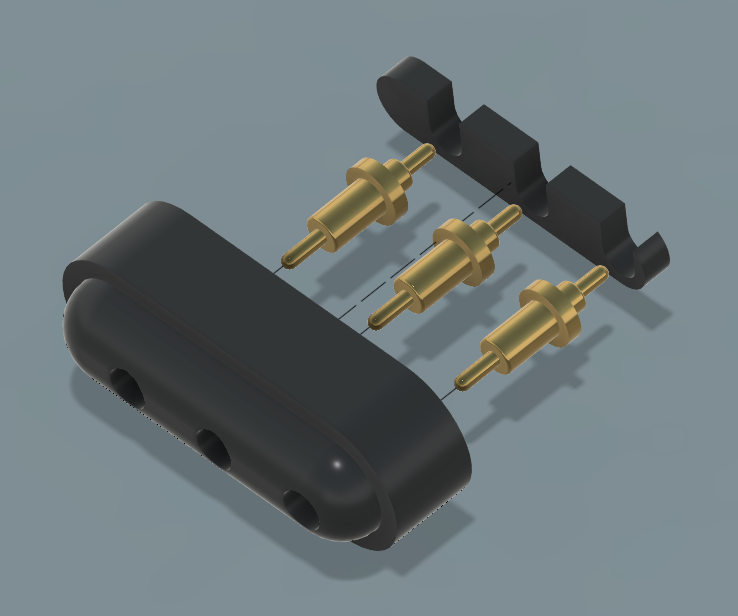
2.Install the wires inside the main body and through the top piece as shown in the following image. Note that the ground wire is connected to both switches.
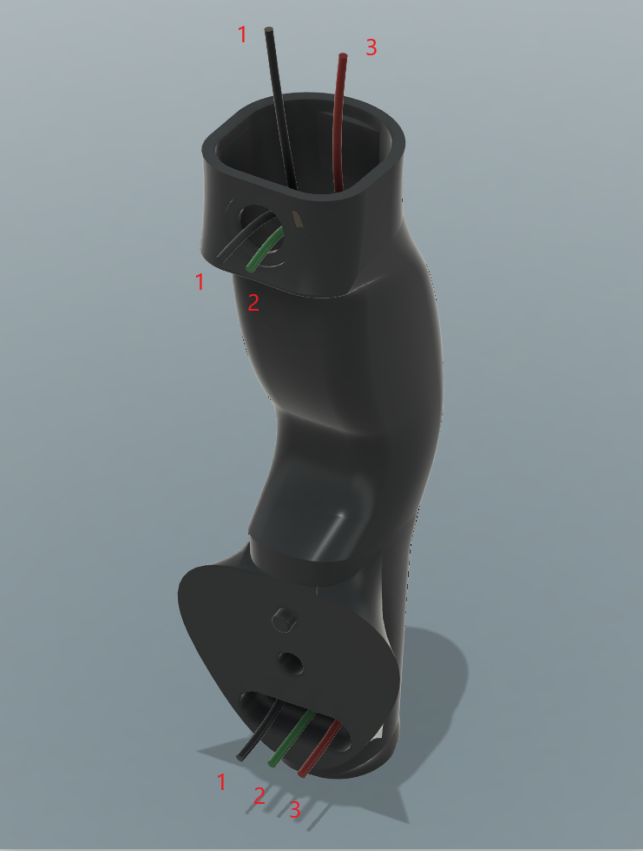
3.Connect the wires to the switches. The 2 pairs of wires should go through the switch nuts. Also, the wire of the red switch should go through the top part. You should then solder the switches (in that order).
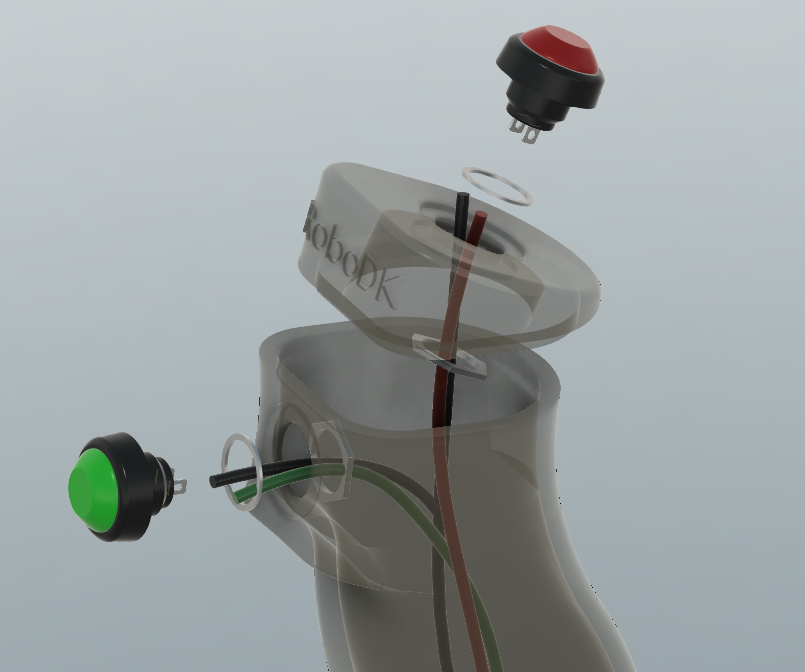
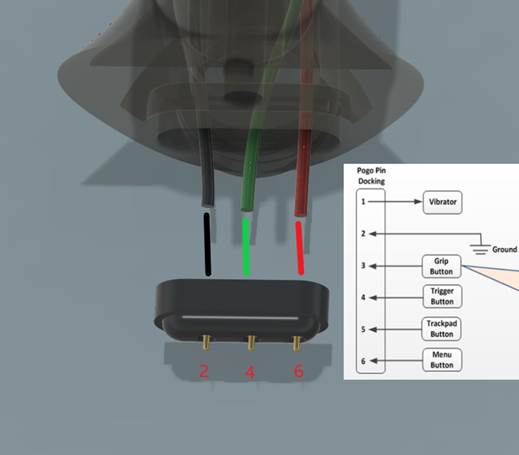
4.Solder the connector to the correct wires. Make sure to place the cables on the right connectors.
5.Assemble the rest of the probe as shown in the following image.