RoboDK Plugin for hyperMILL
hyperMILL Introduction
The RoboDK add-in for OpenMind hyperMILL allows you to quickly set up robot machining projects directly from hyperMILL. With the RoboDK integration for OpenMind software you can easily combine hyperMILL CAD/CAM machining software with RoboDK to simulate and program industrial robot arms for robot machining.
With this hyperMILL add-in you can easily generate error-free programs for robot machining directly from hyperMILL. Alternatively, RoboDK also supports standard APT CLS and G-code machining files.
More information about RoboDK for robot machining is available in the Robot Machining Section. Learn more about hyperMILL and hyperCAD-s by visiting https:/www.openmind-tech.com/en.html.
This document describes how to set up the RoboDK plugin for hyperMILL software and how to use hyperMILL to set up robot machining projects in RoboDK.
hyperMILL Setup
Follow these steps to install the RoboDK AddIn for hyperMILL.
1.Download the plugin:
https://robodk.com/files/upload/hyperMILL_AddIn_RoboDK.zip
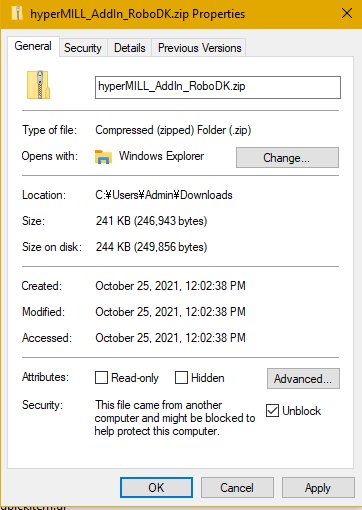
2.Mark the plugin as safe: right click on the ZIP folder, select Properties and check the option Unblock.
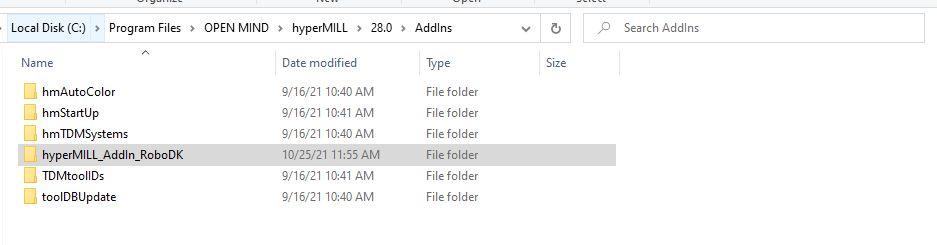
3.Extract the contents of the ZIP folder to “C:\Program Files\OPEN MIND\hyperMILL\28.0\AddIns”, or your equivalent installation directory.
The plugin folder should look as shown in the following image.
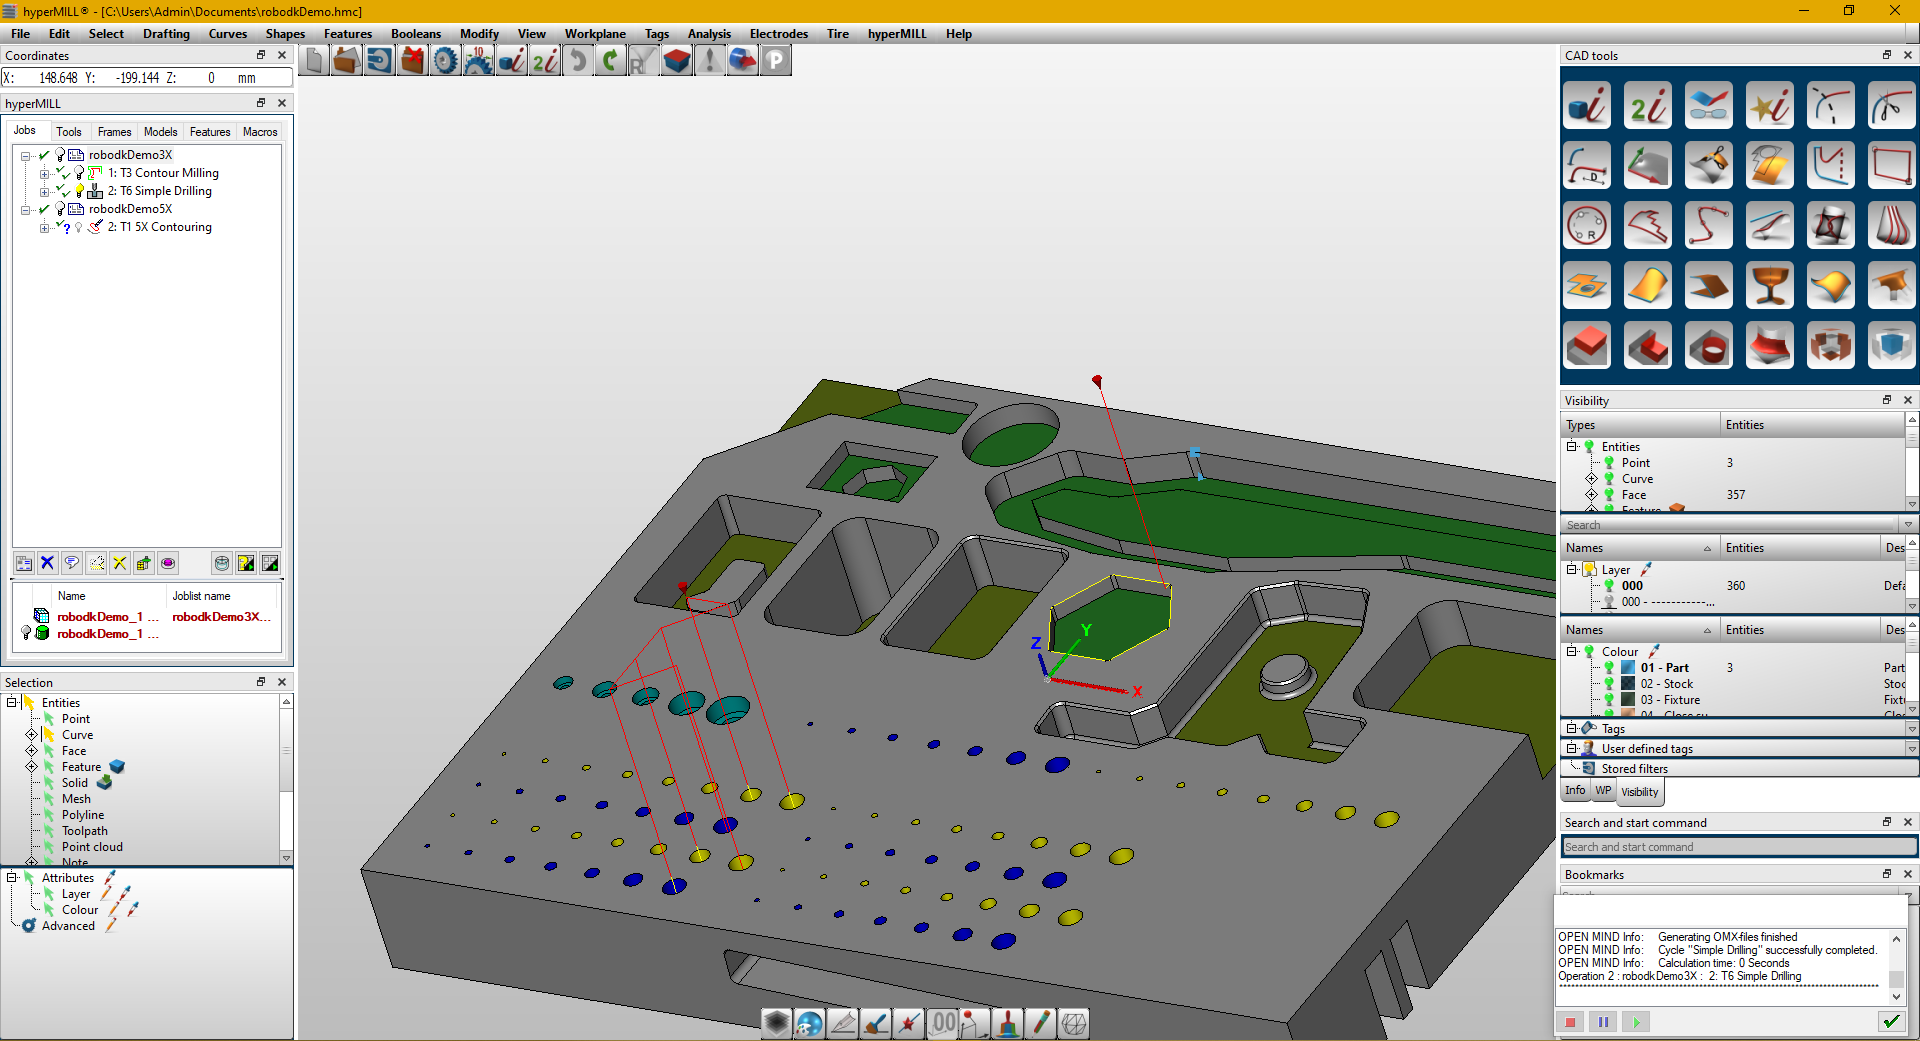
hyperMILL Workflow
In hyperMILL/hyperCAD-S you can use the RoboDK plugin to facilitate sending machining jobs to RoboDK. This allows you to simulate and program robots for robot machining.
Follow these steps to automatically setup your robot machining project from hyperMILL/hyperCAD-S:
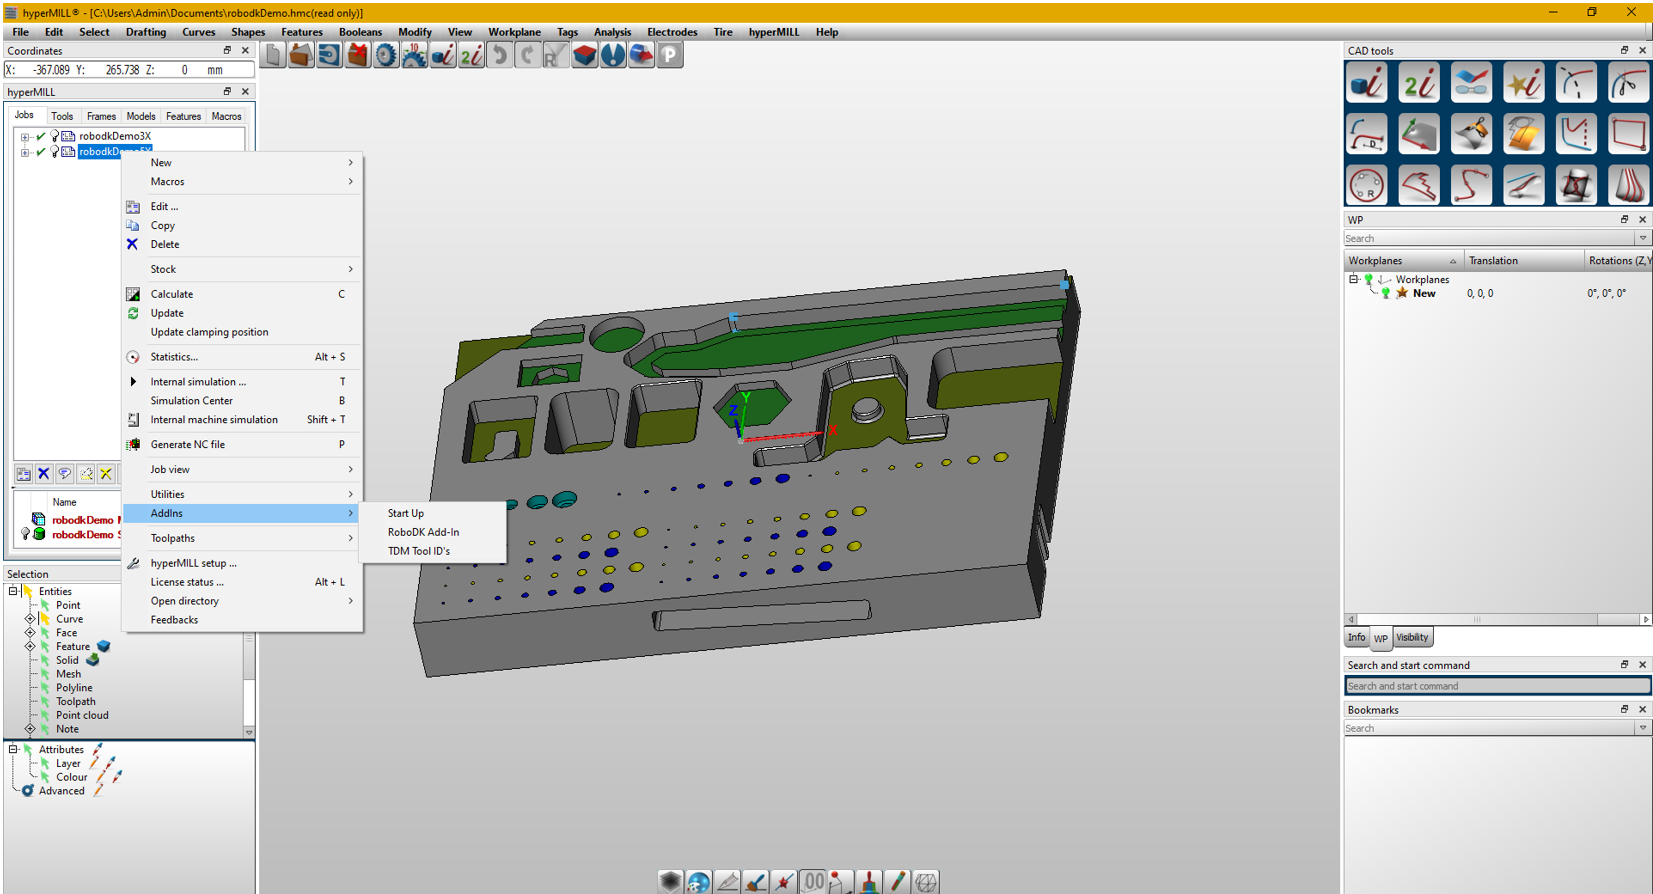
1.Right click on your Job.
2.Select AddIns.
3.Select RoboDK Add-In.
A green check mark will be displayed if the program is feasible with the selected robot. If there are any issues (such as singularities, axis limits or reach issues), a red mark will be displayed with a message of the issue.
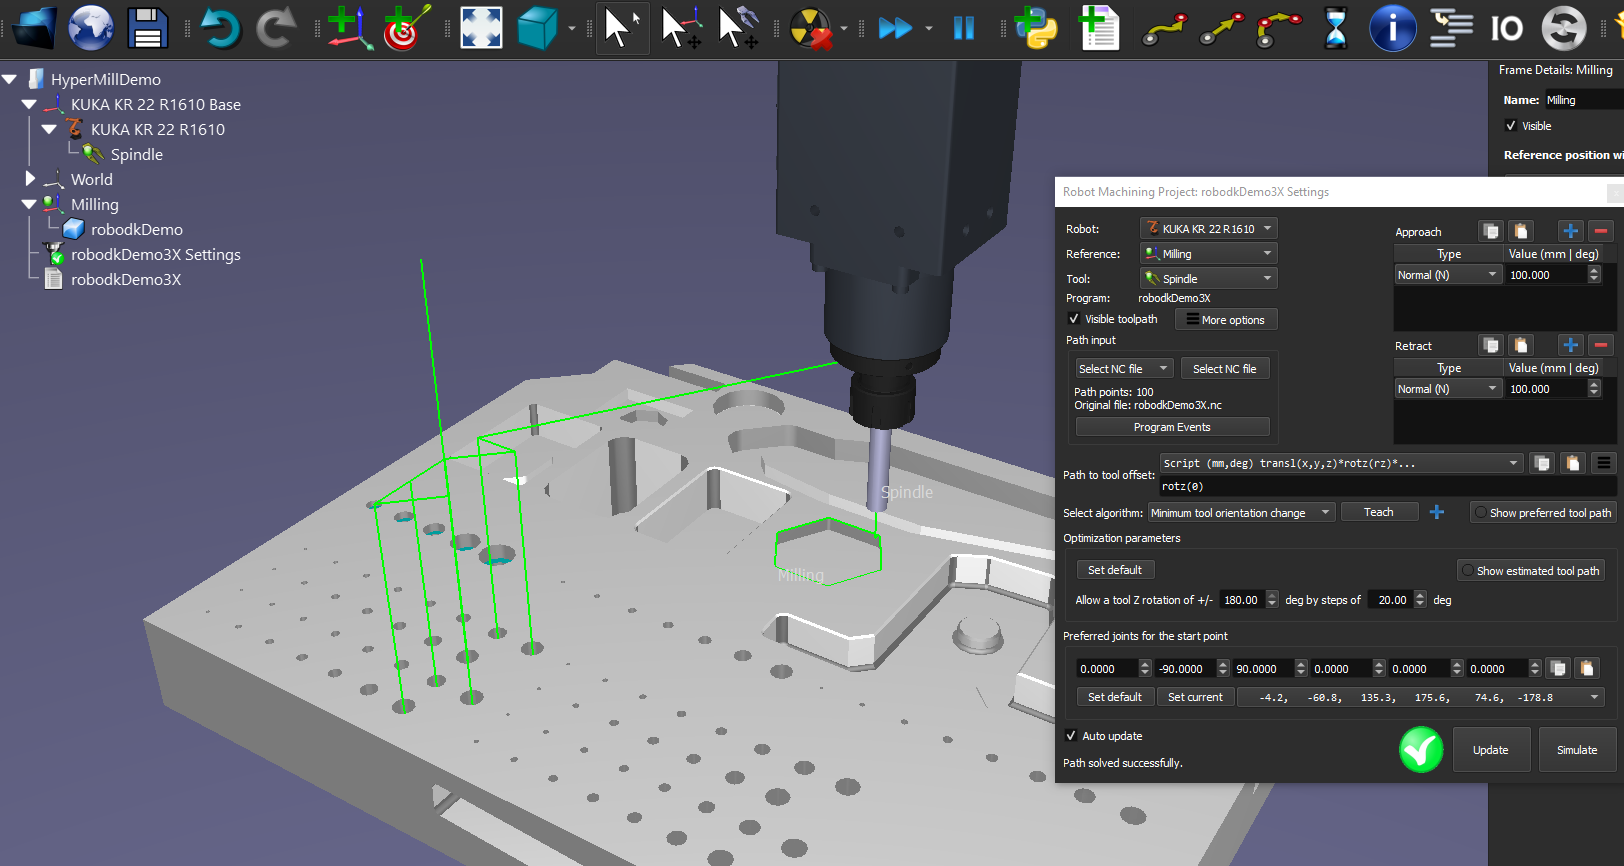
Double click the robot machining project ![]() to open the robot machining settings specific to one operation. More information about the robot machining settings available in the Robot Machining section.
to open the robot machining settings specific to one operation. More information about the robot machining settings available in the Robot Machining section.
Right click a program and select Run to simulate it (or double click the program). You can also select Generate robot program (F6) to obtain the robot program that needs to be loaded on the robot controller. More information about how to generate robot programs is available in the Offline Programming section.
If required, right click a program and select Select Post Processor to change the post processor. This step may help you customize the appearance of your generated code. More information about selecting and customizing post processors is available in the post processors section.