Create Pick and Drop
The palletizing wizard requires you to provide a subprogram to pick a new box and a subprogram to place the box. The “PlaceBox” program is only to detach the box from the gripper and to transfer it to your pallet frame; the actual place targets will be created automatically by the Palletizing Add-In later.
Follow these steps to create a pick program “PickBox” and a drop program “PlaceBox”:
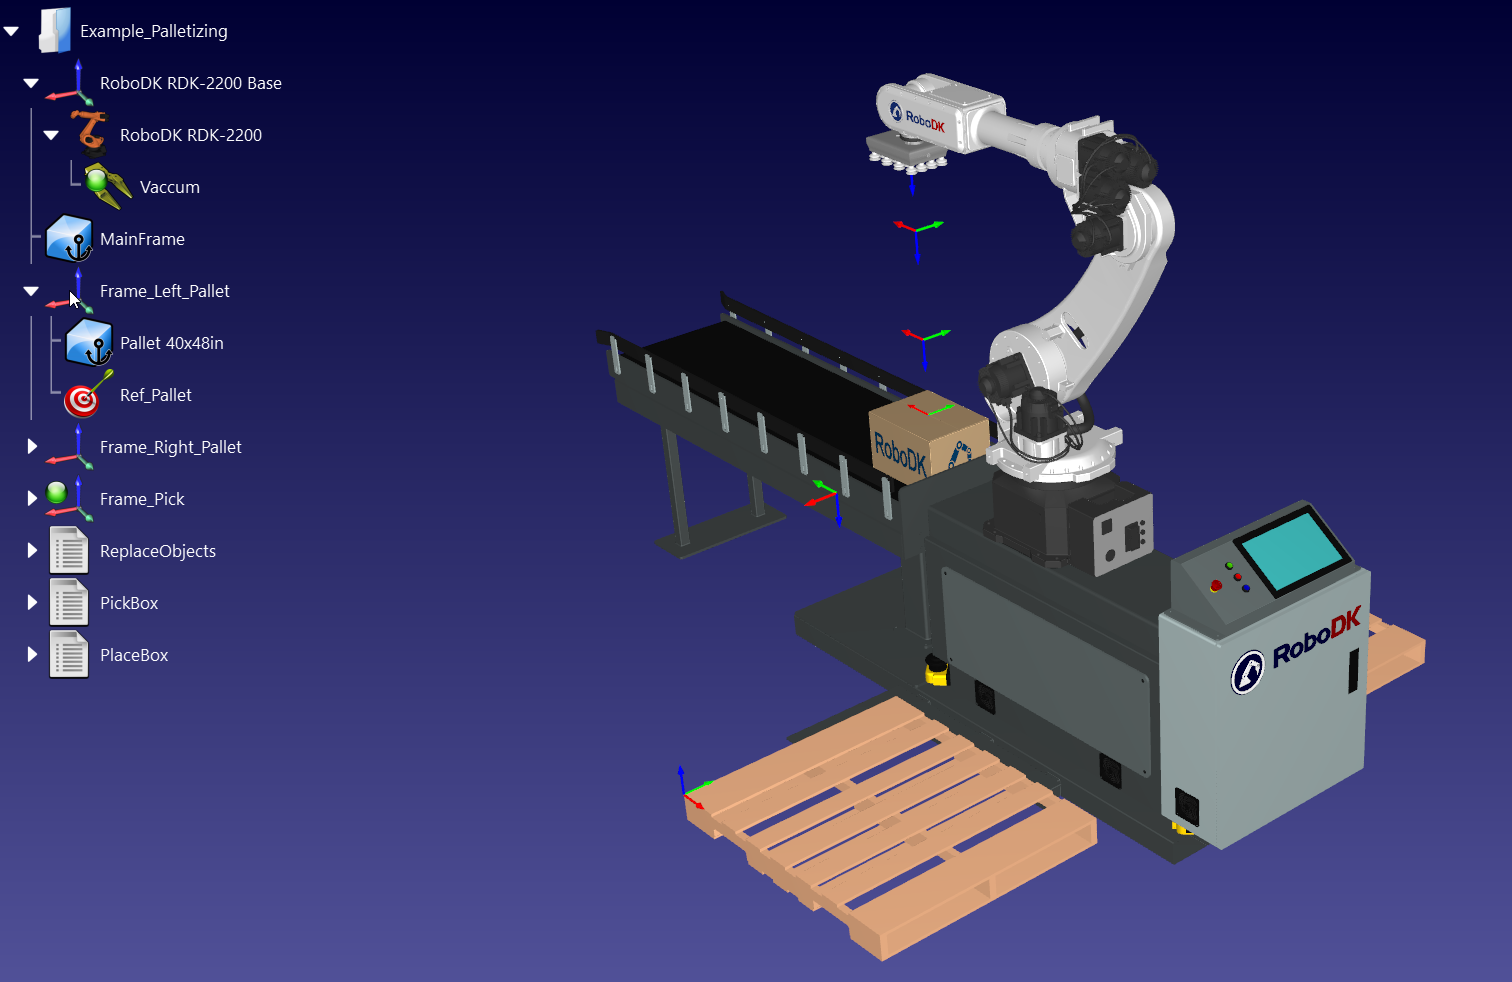
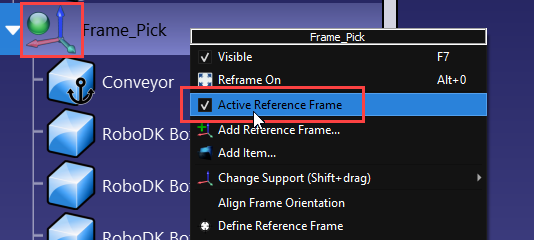
1.First, make sure to activate the “Frame_Pick” and to have your tool active before creating new targets. They should have a green circle if they’re active.
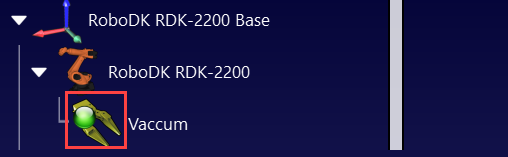
2.In the “Program” tab, select “Teach Target(s) on Surface”. Click on top of the box and then click on “Done”.
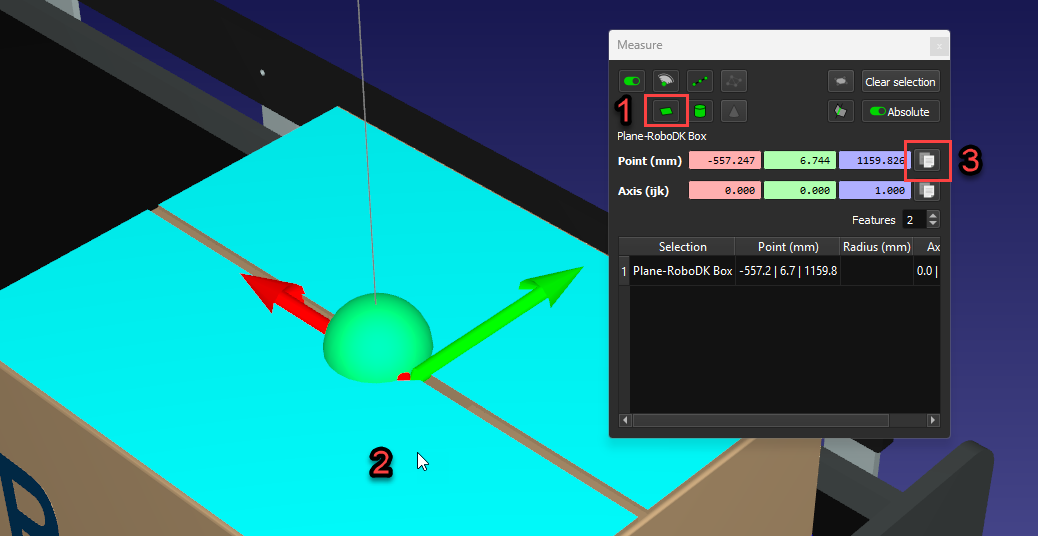
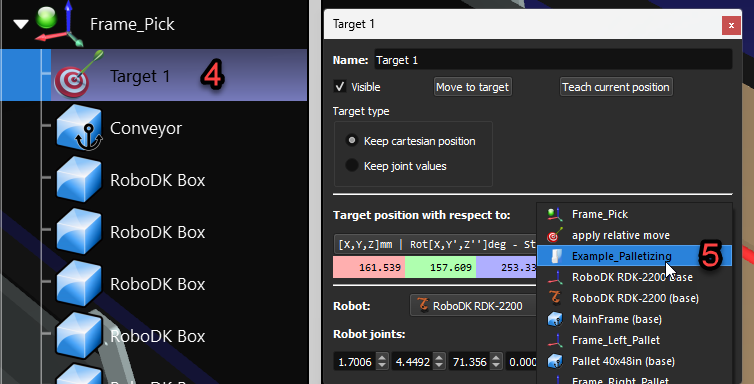
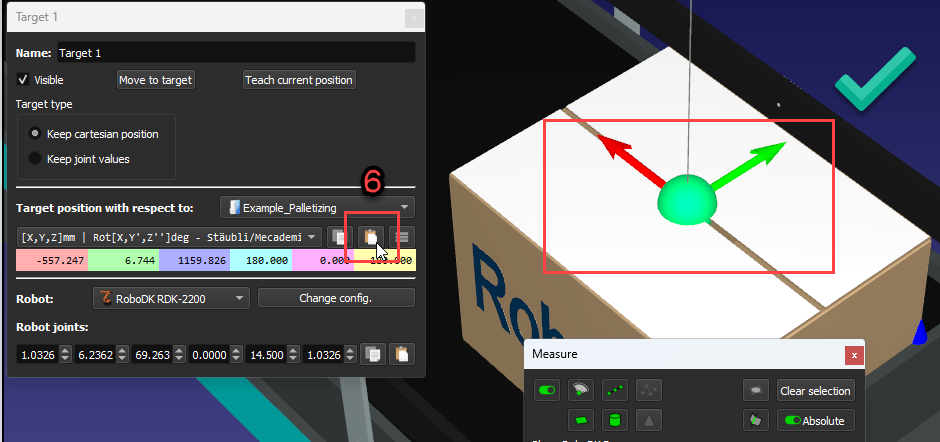
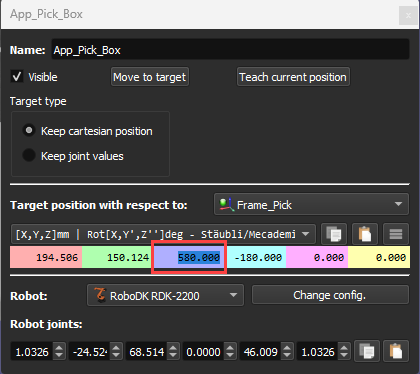
3.You should now have your first target at the bottom of the “Frame_Pick”. To make sure it is centered to the box’s top, hold SHIFT+M to open the measuring tool and then click on top of the box and copy the values. Then, click on your target, press F3 to edit the target parameters. Choose the station origin as the reference and paste the values. The target should now be in the center of the box.
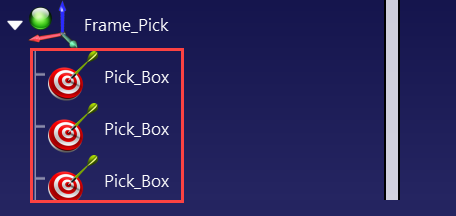
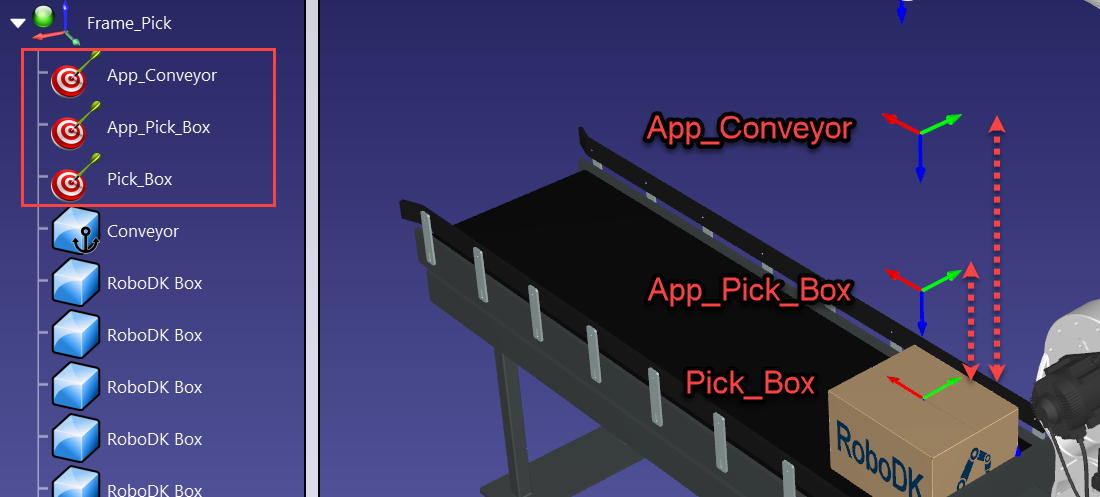
4.Rename your target “Pick_Box” and then copy/paste it two times in the “Frame_Pick”. Rename them “App_Pick_Box” and “App_Conveyor”. Then, edit the target parameters and add some distance on the Z values using your scroll wheel until you are satisfied with the target positions.
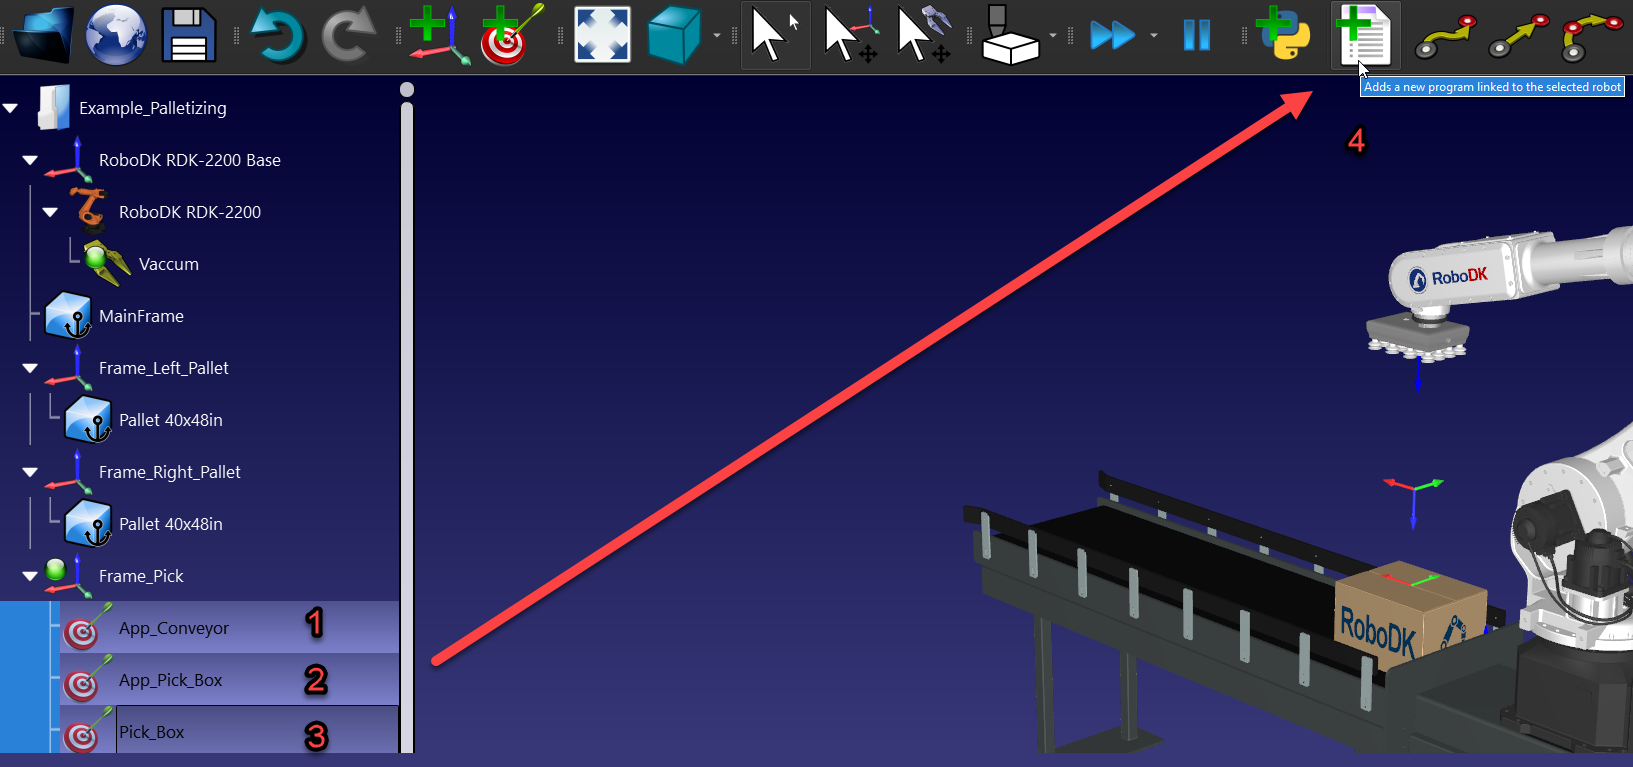
5.While holding CTRL, click on all 3 targets in the order you want the program to execute them and click on “Create Program”. That should automatically add your targets, the tool, and the reference frame to the program. Rename the program “PickBox”.
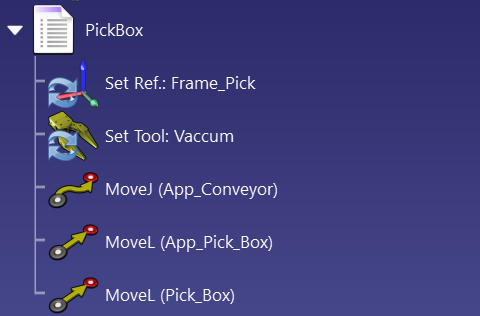
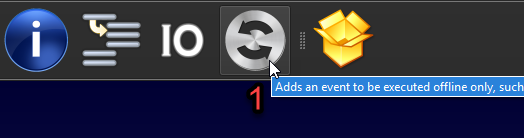
6.Add an “Event”, select “Attach object”, make sure that it is the right tool selected, and then choose “TCP vs. Object Surface (any)” in the measure distance options. That will attach the box to the tool. Copy and paste the “App_Pick_Box” and “App_Conveyor” targets following the attached event. You should now have a working picking program.


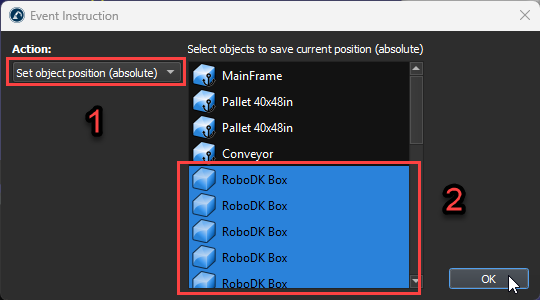
7.Create an empty program, add an event, select “Set object position (absolute)” and select all your boxes. This program will move the boxes back to their original position so you can reset your station in one click. Rename the program “ReplaceObjects”.

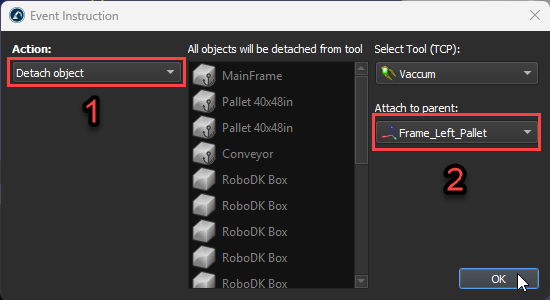
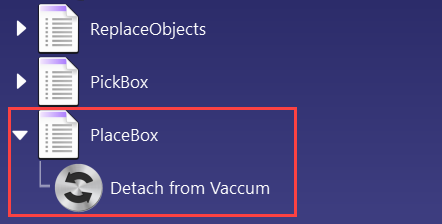
8.Create another empty project, add an event, select “Detach object” and select the reference frame you want to box to be attached to after being placed; in our case, it will be “Frame_Left_Pallet”. Rename the program “PlaceBox”.
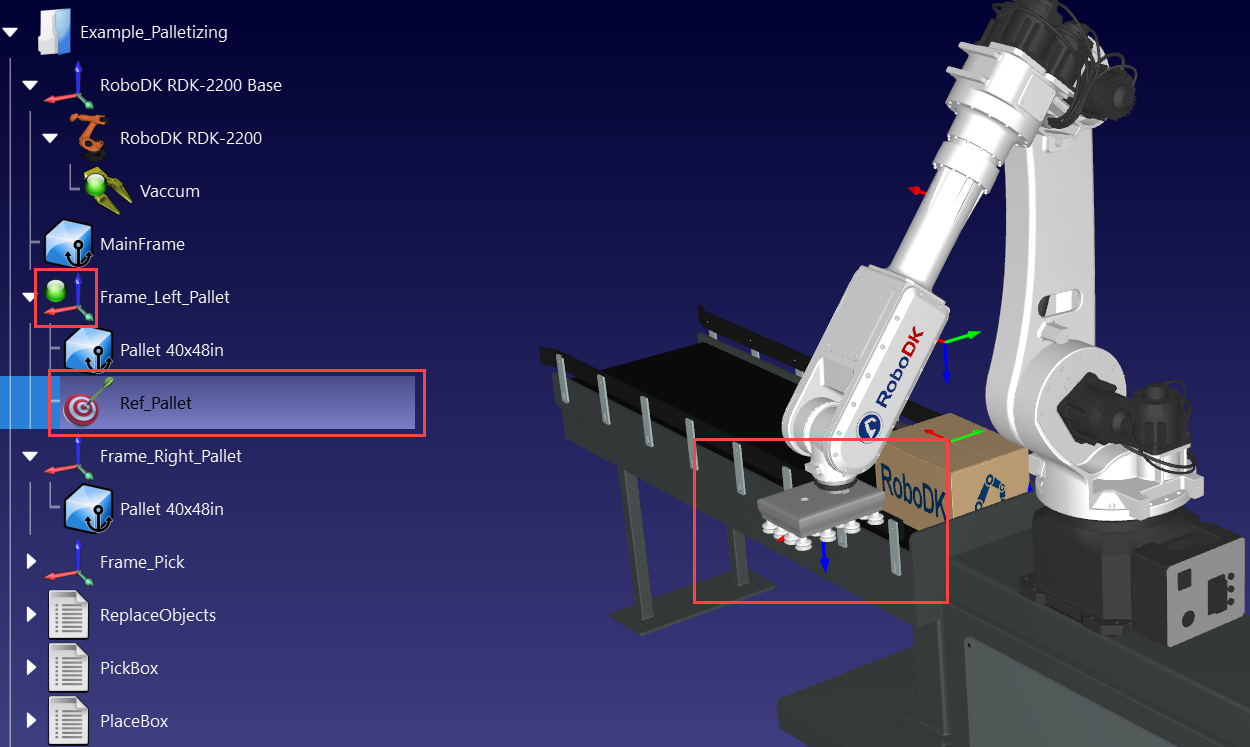
9.Finally, the last requirement missing is a target that will be used as a configuration reference. Activate your pallet’s reference frame, move your robot on top of it, make sure the robot configuration makes sense, and then create a target. Rename it “Ref_Pallet”.
You now have everything set up to create your palletizing project. Your station should look like this: