Create Layer Design
The palletizing layers allow you to design how you want to place the objects on each layer of your pallet and properly define your preferred layout.
Follow these steps to create the layout of your layer:
1.Move to the Layer tab to create your layer design.
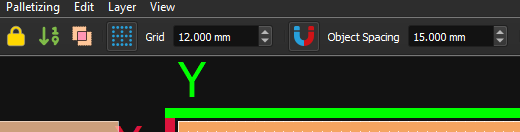
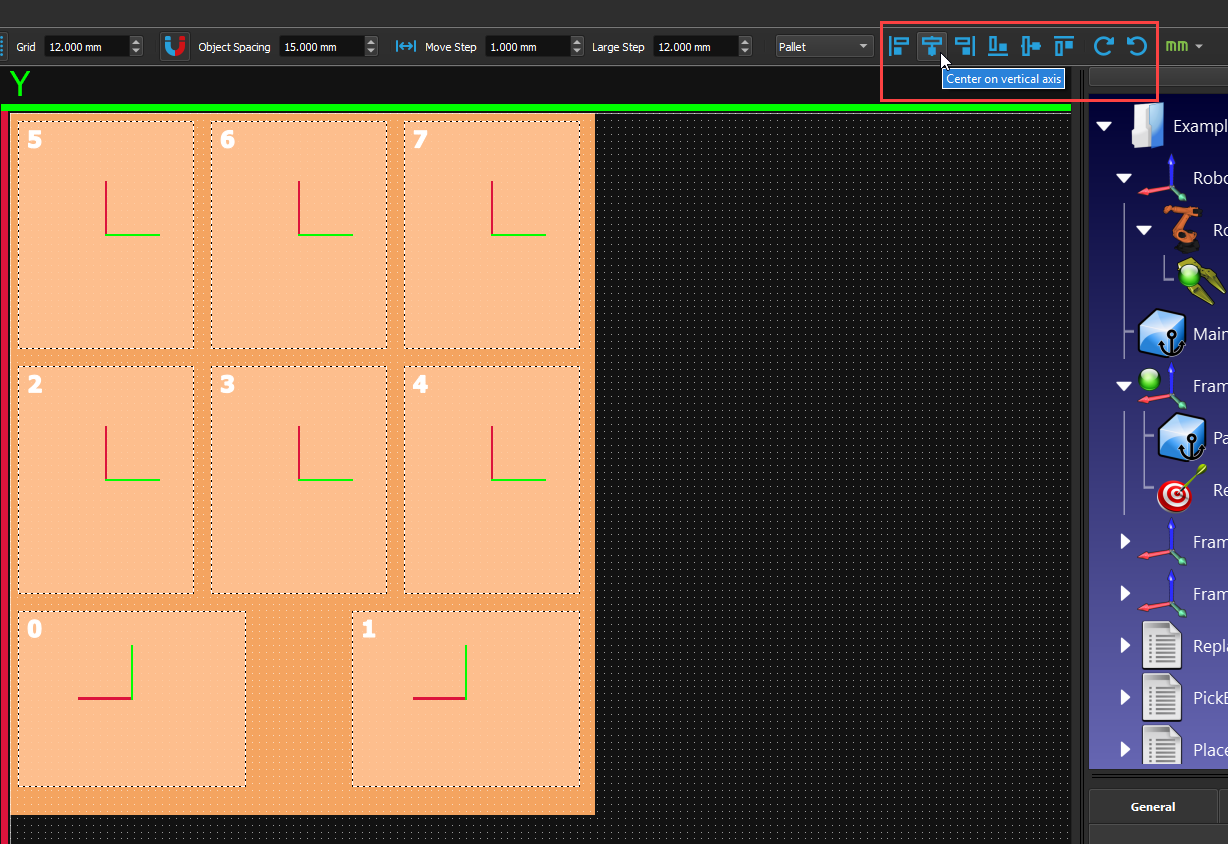
2.Make sure your layout grid is set according to your need. In this case, we will be using 12mm. You can also change the value in “Object Spacing” to have a constant gap between your boxes; we will be using 15mm.
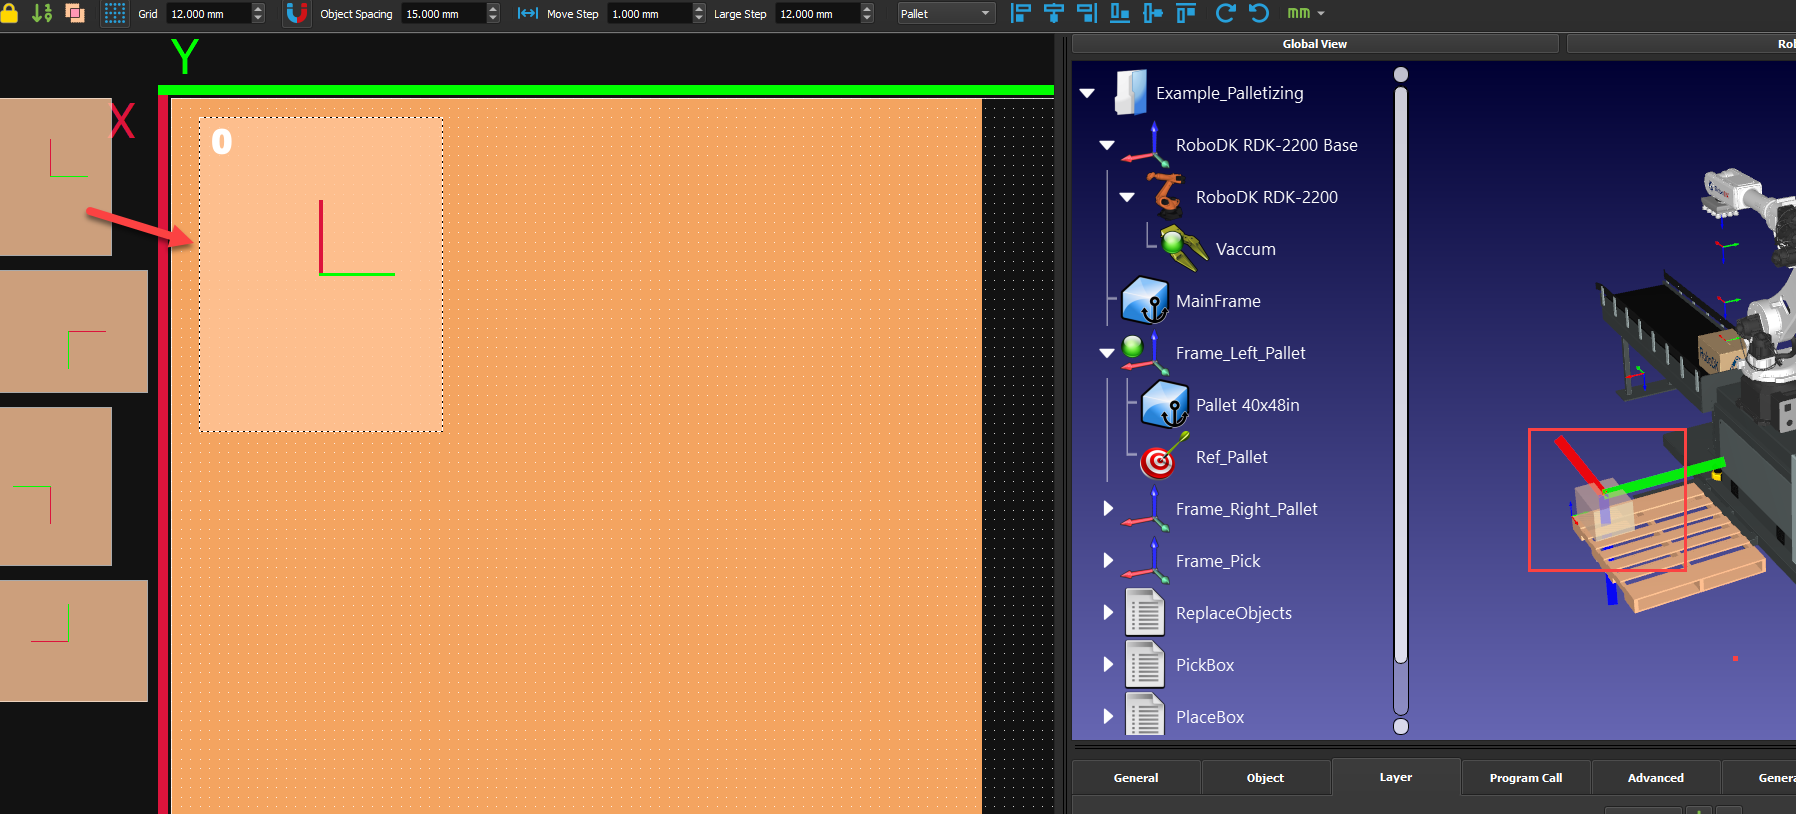
3.Select a box from the left and drag and drop it onto the pallet.
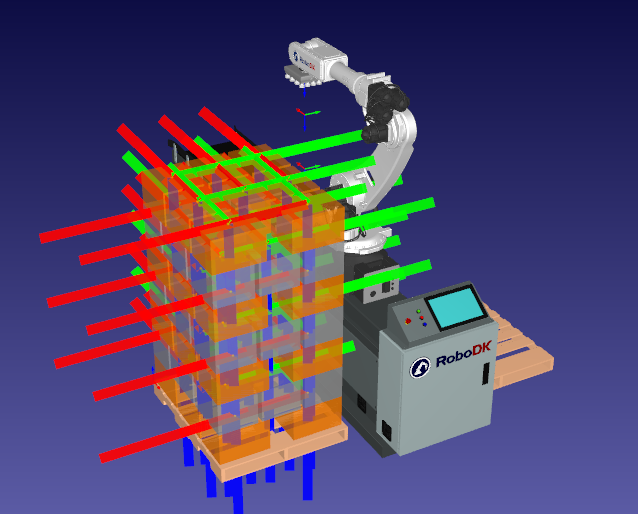
4.While moving the box on the 2D interface, it will appear in the 3D environment. If the box in the 3D environment turns red, it means that this is out of the robot's reach.
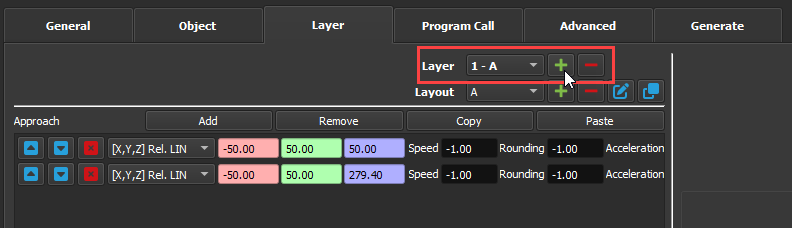
5.Create your first layer layout. The number on the top left of the boxes represents the order in which the box will be placed. You can right-click the boxes to modify their order. You can also add lines to have a custom approach or retract relative to your boxes. You can take the values in this example, but it is not mandatory. Play with them to see what it does to your program.
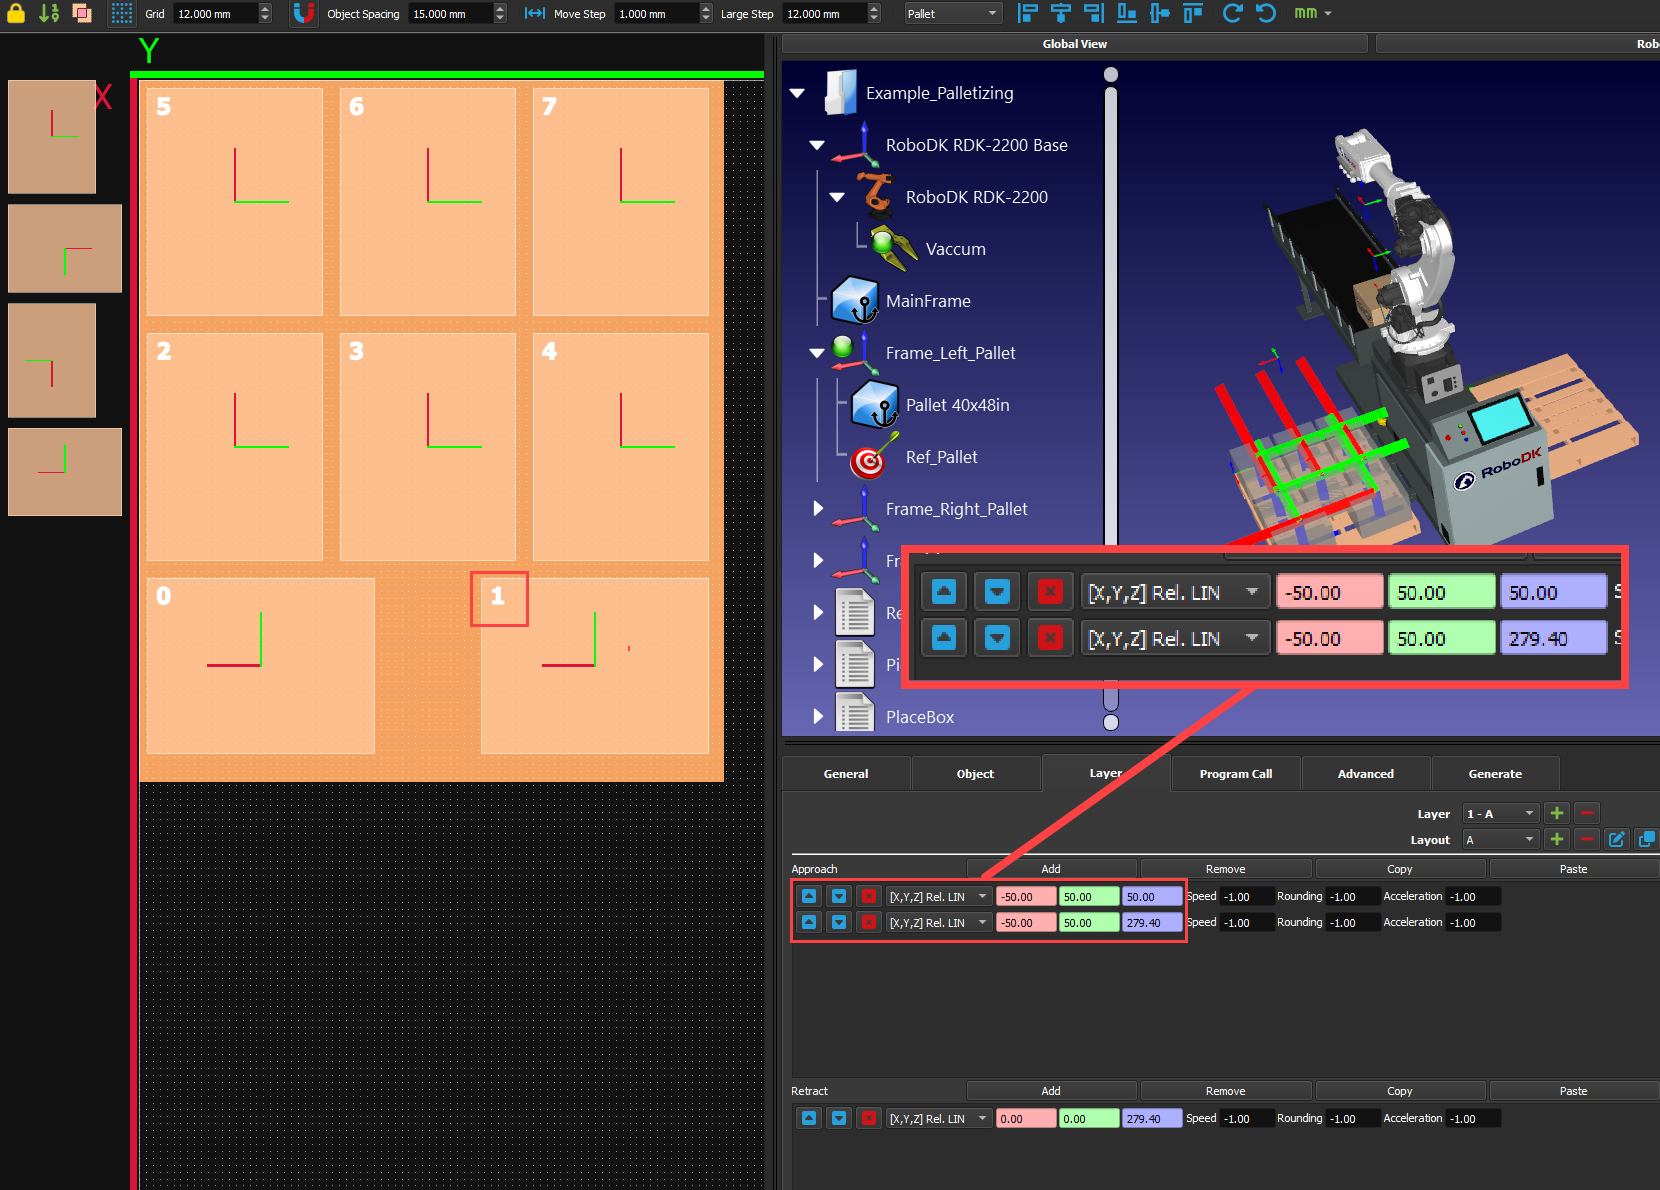
6.You can realign your boxes easily with the different align buttons on the top right. Select all your boxes and click on the different options until you are satisfied. You can also rotate your boxes instead of spawning new ones in the right orientation.
7.Add a new layer to the stack by pressing the “+” button beside “Layer”. Adding a new layer will copy the same pattern as the layer under it.
8.You can create a new layout (pattern) by pressing the “+” button beside “Layout”. You will still see the previous layer layout greyed out so you can position the new boxes properly on top of them.
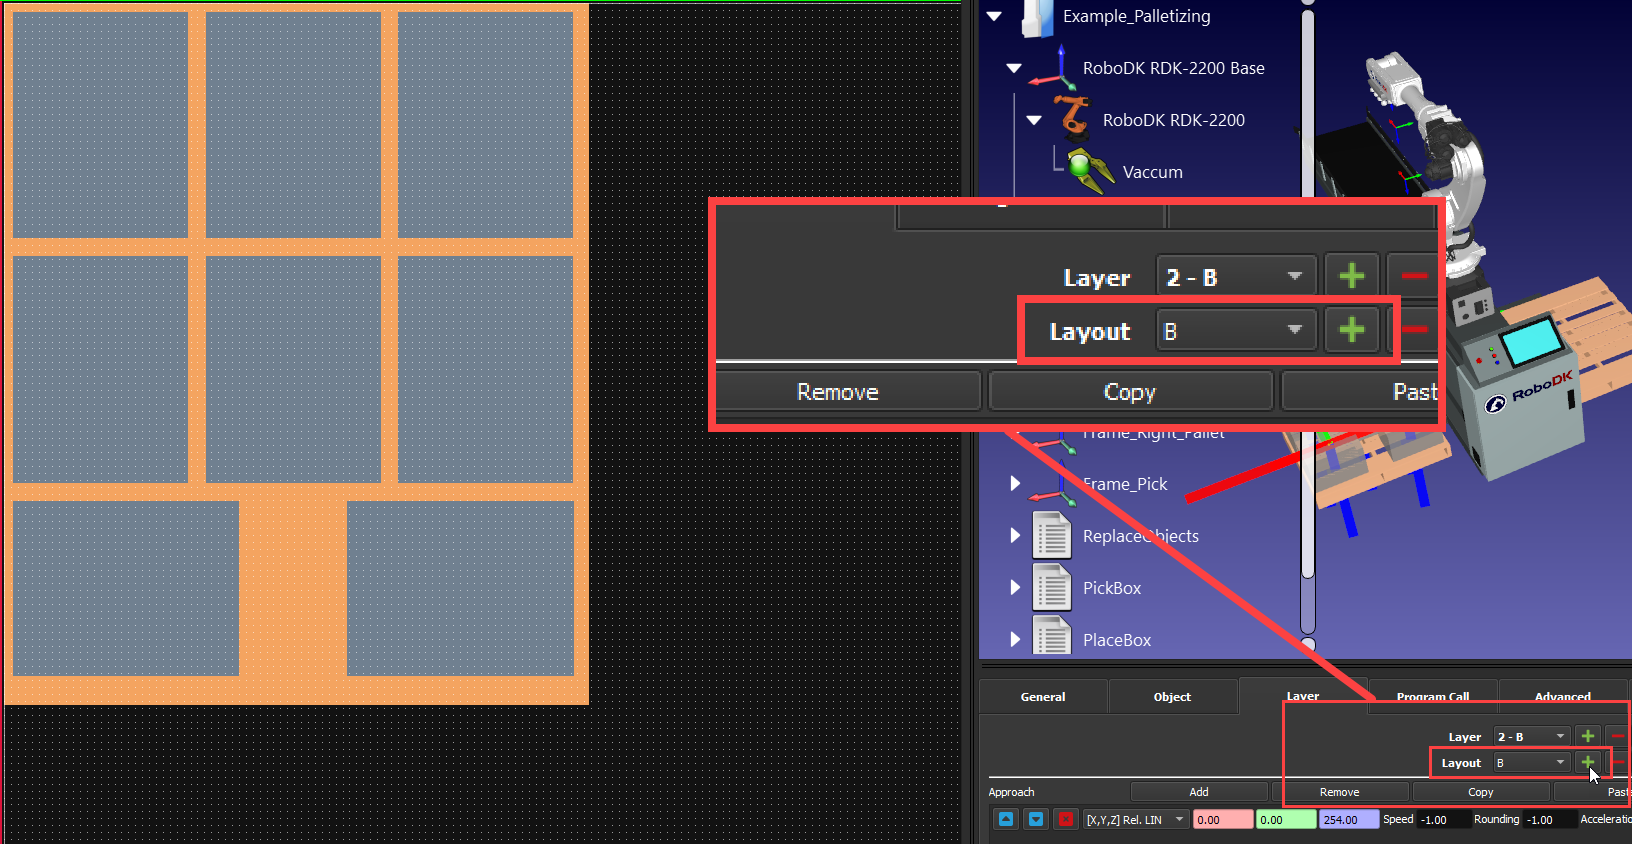
9.Create your alternative layout. You can fine-tune the boxes’ position by holding CTRL and using your keyboard arrows. You can change the size of this increment in “Move Step” on the top of the window.

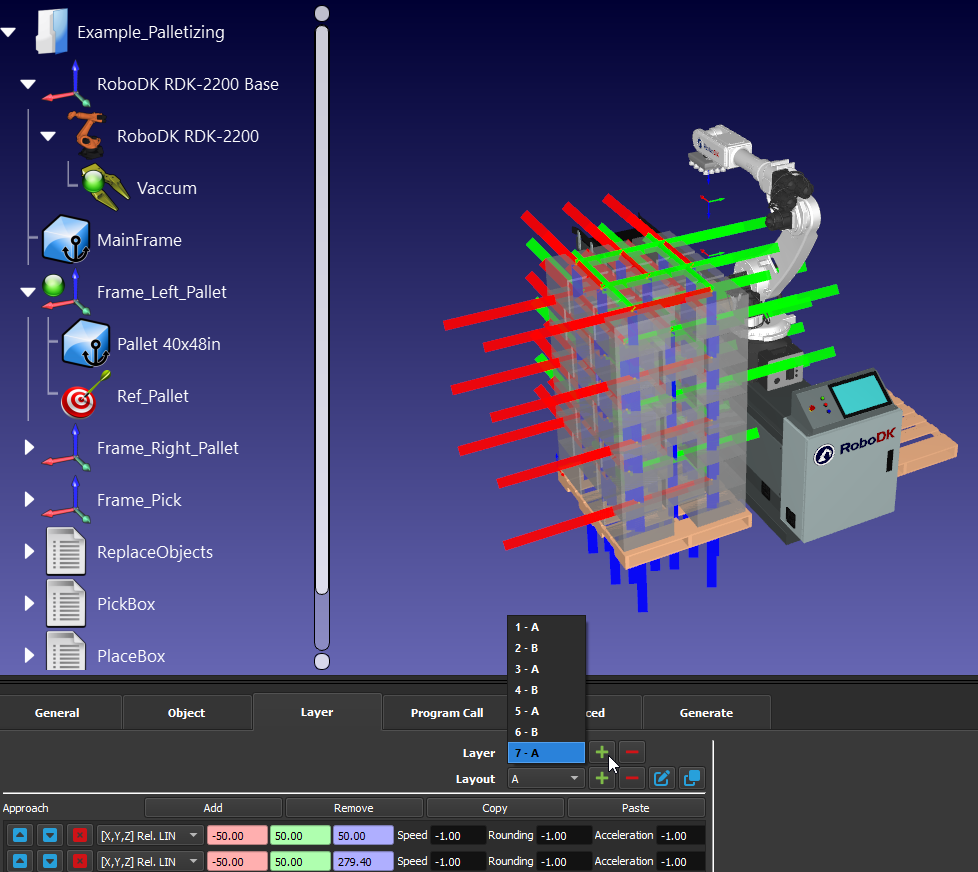
10.You can then add the number of layers you want and can choose to alternate between them. Just look at the boxes' colors in the 3D view to make sure the boxes are still all within the robot’s reach.
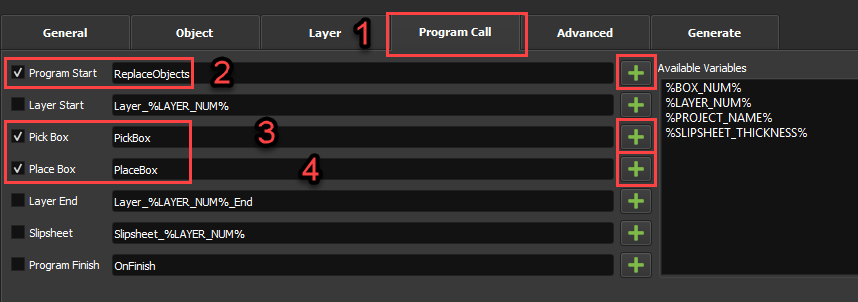
11.In the “Program Call” tab, you can select programs for different events by clicking on the “+” button and then “check” the box accordingly. For instance, you need to at least choose a “Pick Box” and a “Place Box” program, otherwise, you won’t have a working project. In this example, we will also use a “Program Start” program, but you could create a “Go Home” program and select it in “Program Finish” so the robot goes back home once the pallet is done.