Blender Export Add-in
You can export your RoboDK simulation to Blender to create photorealistic images and animations. Blender is a free and open-source 3D animation and rendering software. RoboDK provides the ability to load your simulation in Blender, including colored objects and animation sequences.
The Blender export option will add a Blender export format to the Export Simulation window. Follow the steps from the export section to export the 3D scene and animation data.
Installing the Blender Add-in
The Blender option requires installing the Blender Add-in so you can export your program simulations to Blender animations.
Follow these steps to install the Blender Add-in and the included assets:
1.Download and install Blender 3.6 LTS
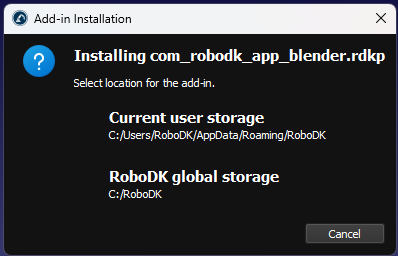
2.Download and install the Blender Add-in in one of the two locations suggested in the prompt
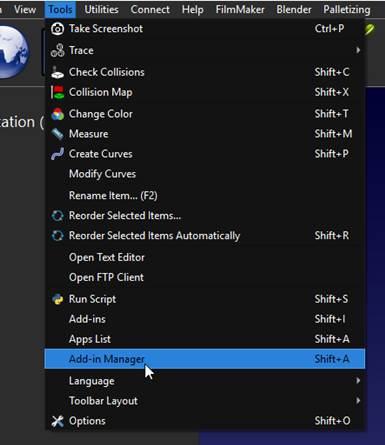
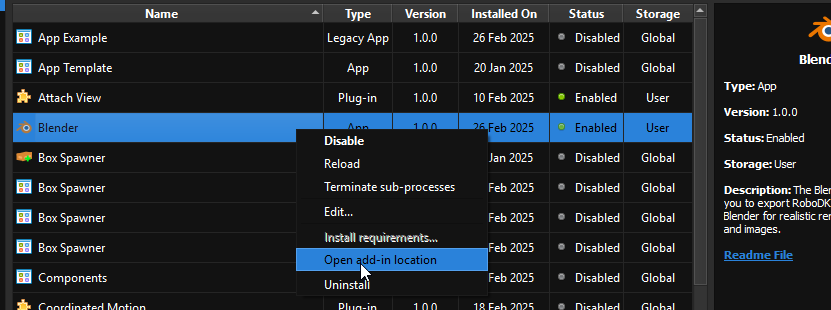
3.Find the location of the newly installed add-in in Tools➔Add-in Manager, right-click on the Blender Add-in and choose “Open add-in location”. Copy the path.
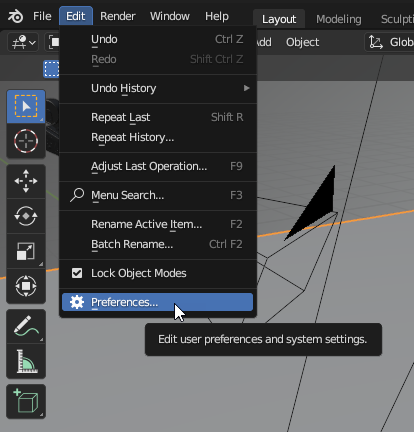
4.Open Blender, open the “Edit” tab and click on “Preferences…”
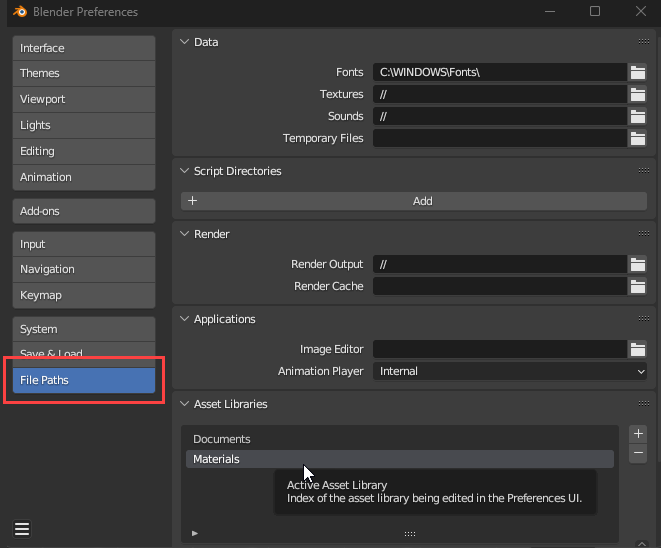
5.Go to “File Paths”, in “Asset Libraries” click on the “+” icon
6.Paste the path of the Blender Add-in and add the asset folder “Materials” from …\Blender\Assets\
Exporting your RoboDK simulation to Blender
This section shows you how you can export your simulation in RoboDK to Blender.
Follow these steps to export your RoboDK simulation:
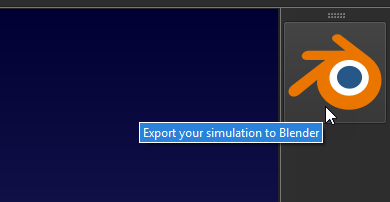
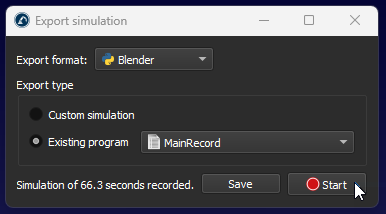
1.Click on the Blender export icon on the right side of the screen
2.Select “Existing program” and choose your main sequence program
3.Click on “Start” to begin recording
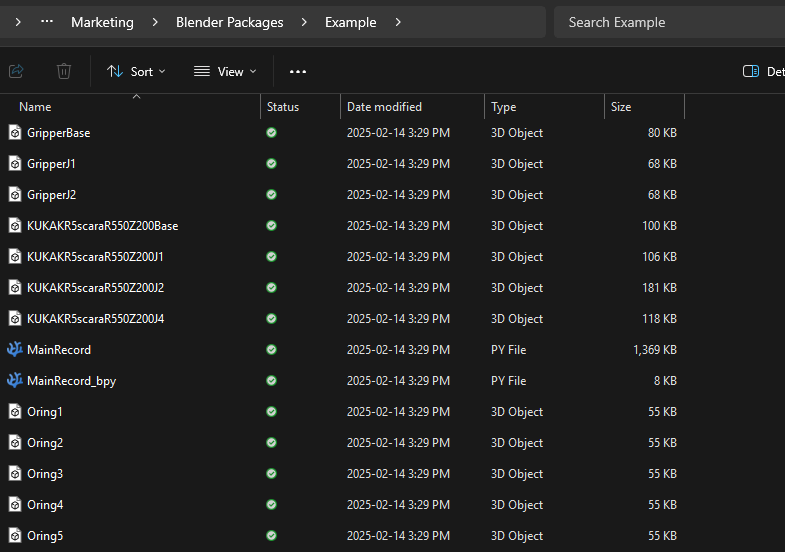
4.When your program ends, a window will appear, choose the folder you created earlier, then click “Save”
To import the exported RoboDK simulation to Blender, follow these steps:
1.Open Blender.
2.Use the “General” default template and delete included objects (the cube).
3.Optionally, open the system console Window➔Toggle System Console
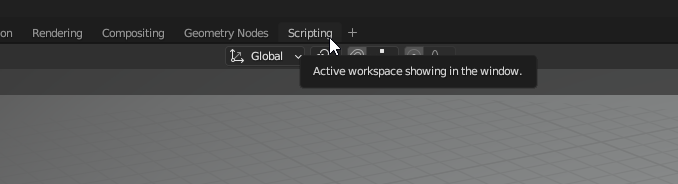
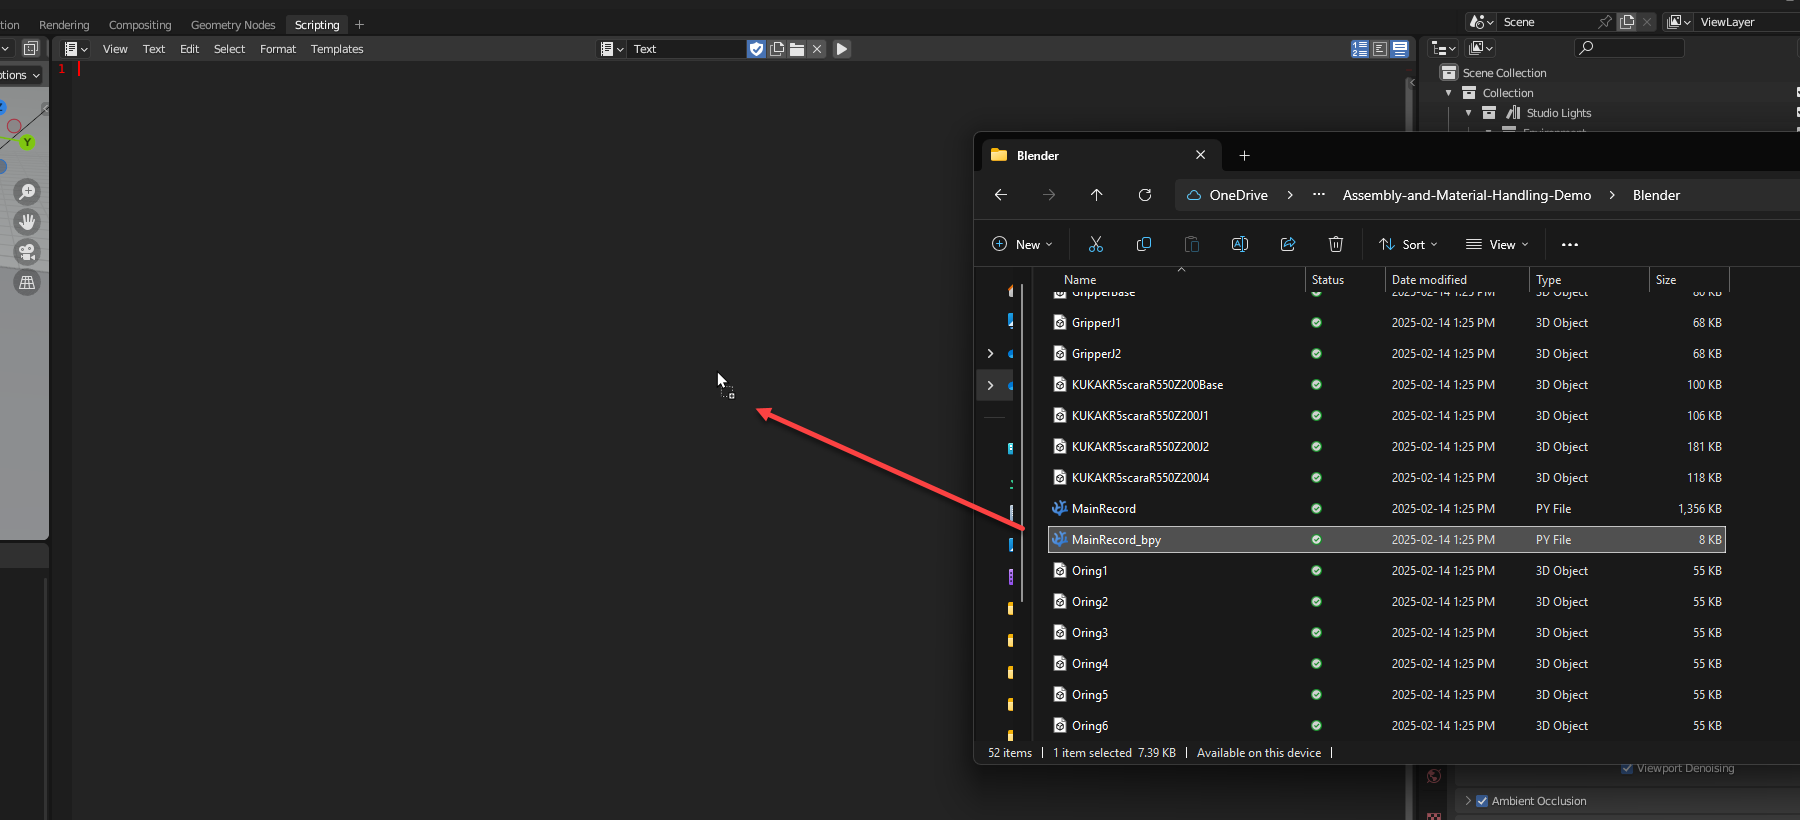
4.Navigate to the scripting view and open the Python file ending with “_bpy.py”, +➔General➔Scripting➔Open.
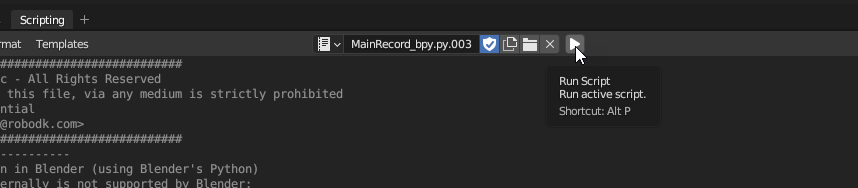
5.Run the script with Scripting➔Run Script or Alt+P.
6.Wait for the script to complete (check the System console for activity). Depending on the size of the simulation, this process can take a few minutes.
Verify that the Blender export/import worked as intended:
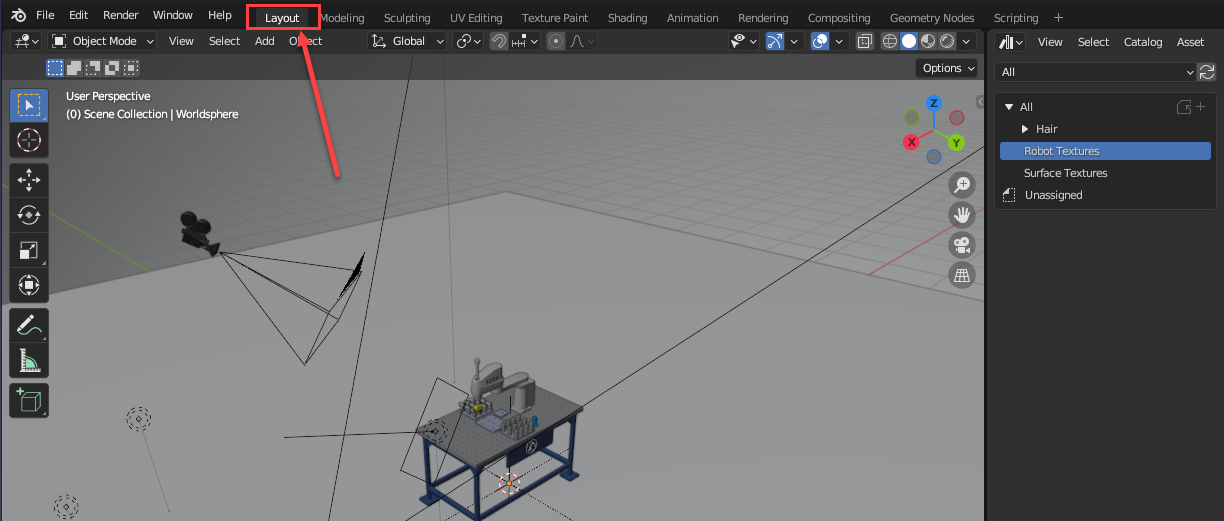
1.Go into the “Layout” tab, you should see your robot station in the center
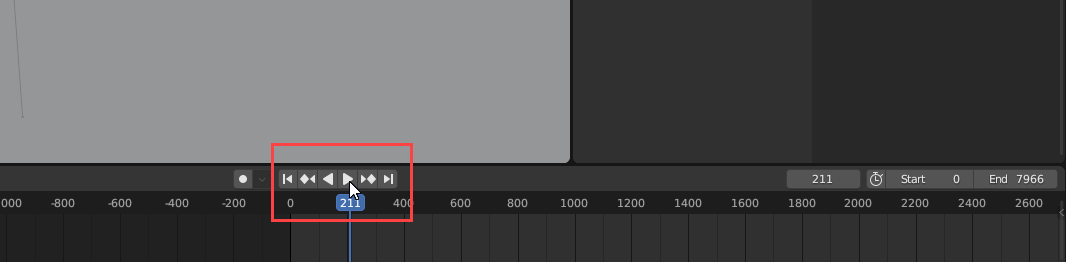
2.Look for the “Play” button at the bottom of the screen and click on it
3.The robot should start moving. If it’s not the case, go back to the exporting and importing steps to make sure you didn’t miss a step.
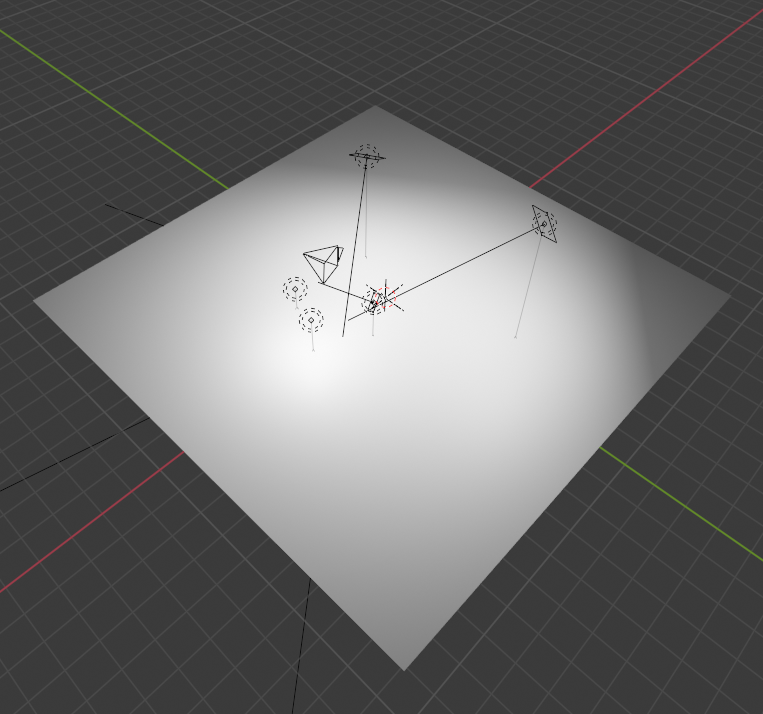
Using the RoboDK Studio Lighting preset scene
The lighting preset scene gives you a starting point to add light to your animation. The RoboDK Blender Add-in includes a preset scene, the Studio Lighting.
Follow these steps to use the RoboDK Lighting preset:
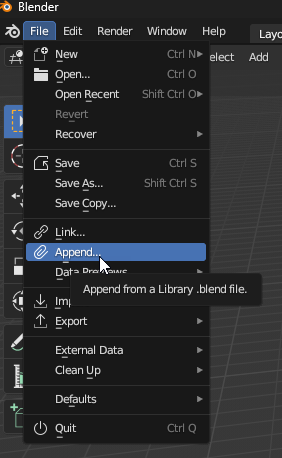
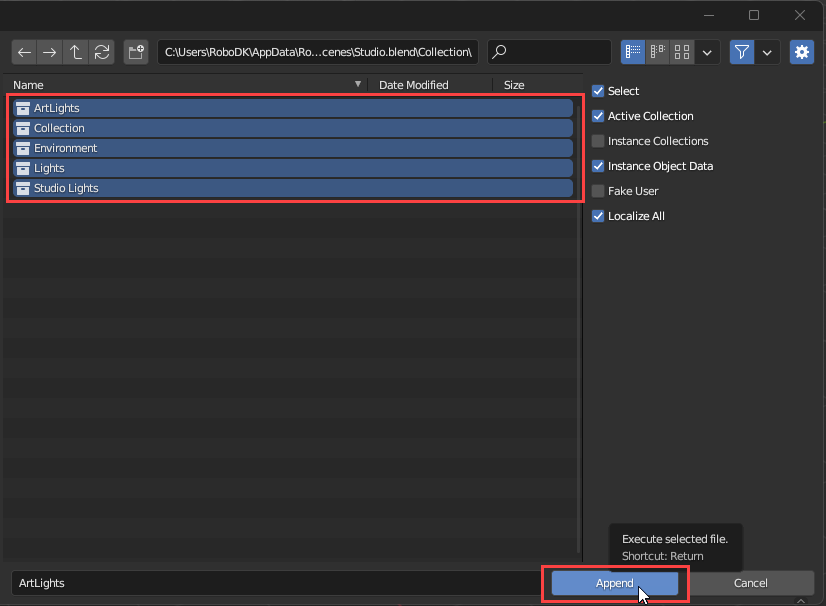
1.In Blender, use File➔Append and browse to the installation path of the Add-in.
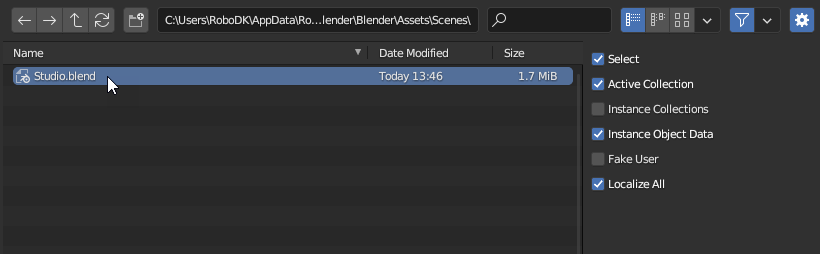
2.In …\Blender\Assets\Scenes, select the Studio.blend.
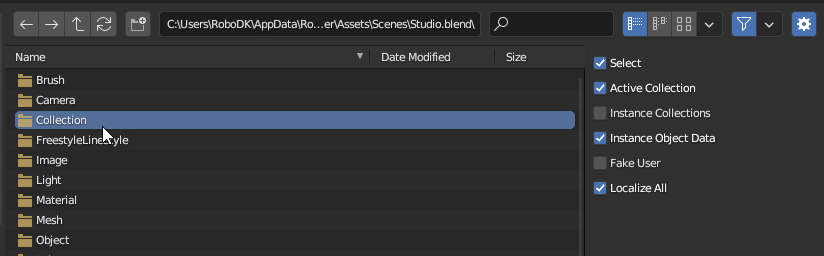
3.Navigate to Collection, select everything and Append.
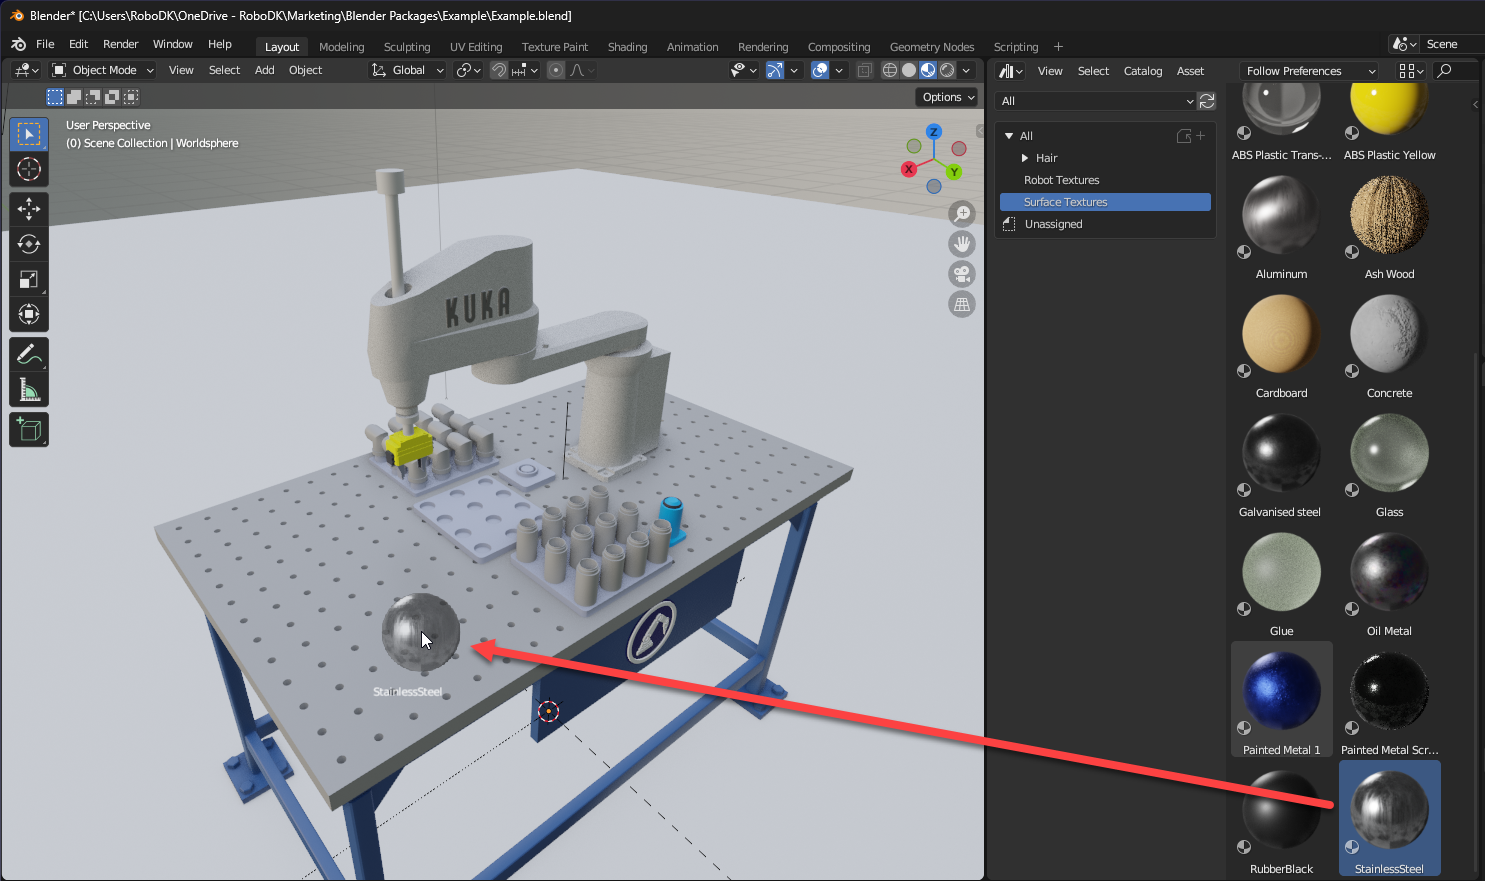
Using the RoboDK preset materials
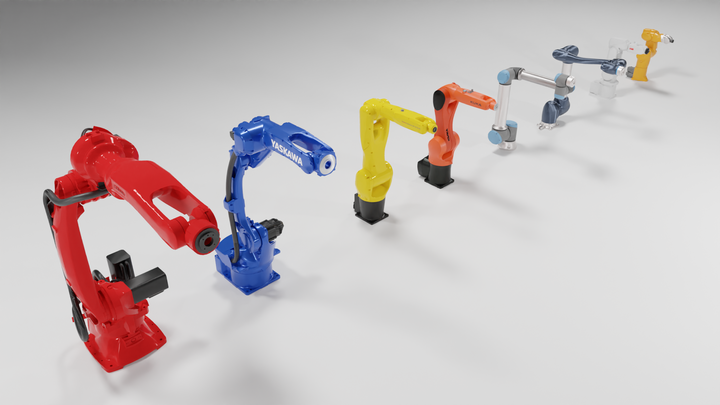
The Blender Add-in includes ready-to-use textures for robot arms (such as ABB, FANUC, KUKA, Universal Robots, …) and surface materials (plastic, cardboard, steel, …).
Follow these steps to apply robot materials:
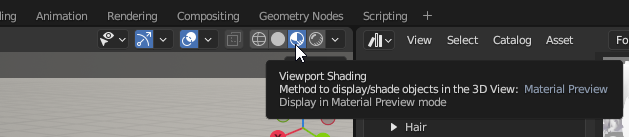
1.First, make sure you that the viewport shading is in “Material Preview”
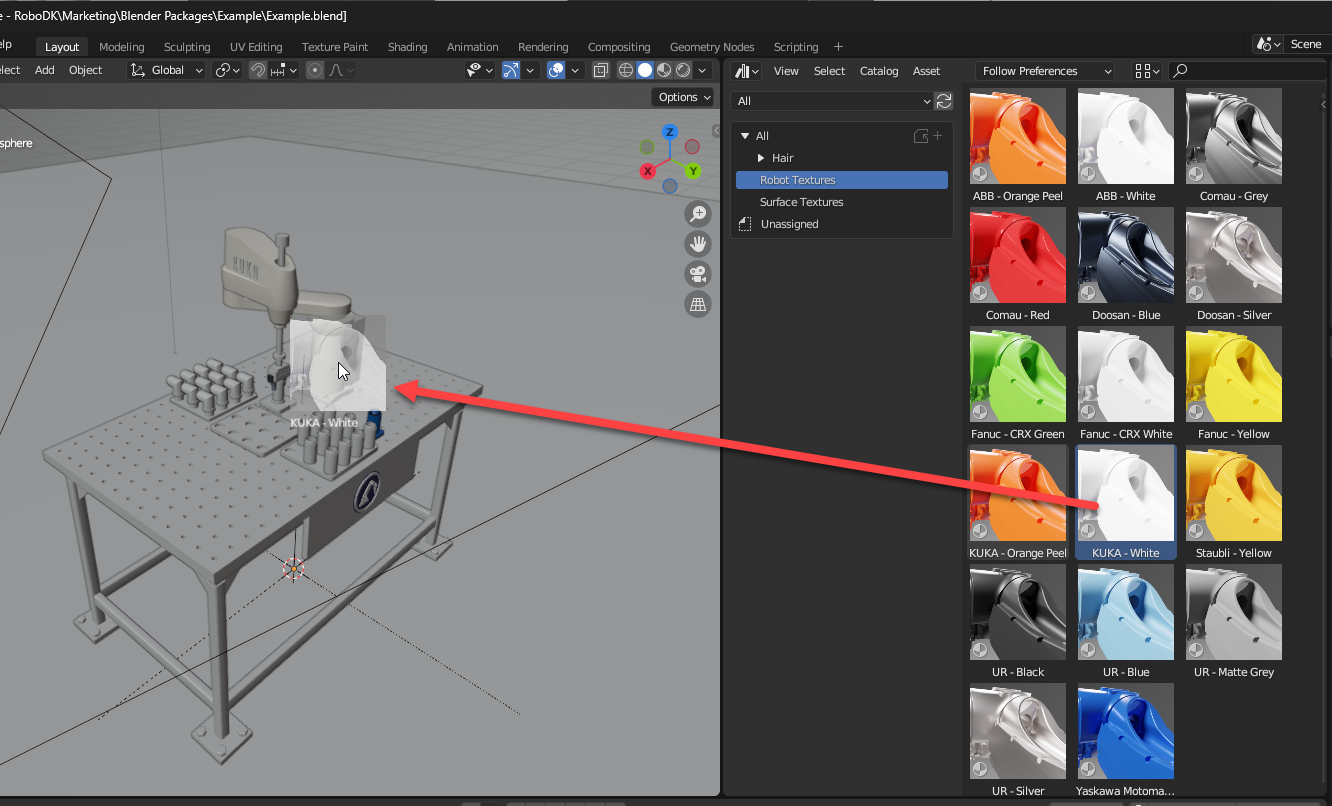
2.Locate the “Asset Browser” (or open with “Shift+F1”)
3.Click on “Robot Textures”, and drag-n-drop the texture you want on the surfaces of your robot(s)
4.Click on “Surface Textures” and drag-n-drop the textures you need on the different objects of the station
5.To preview the results, press “F12” to render one frame of the video
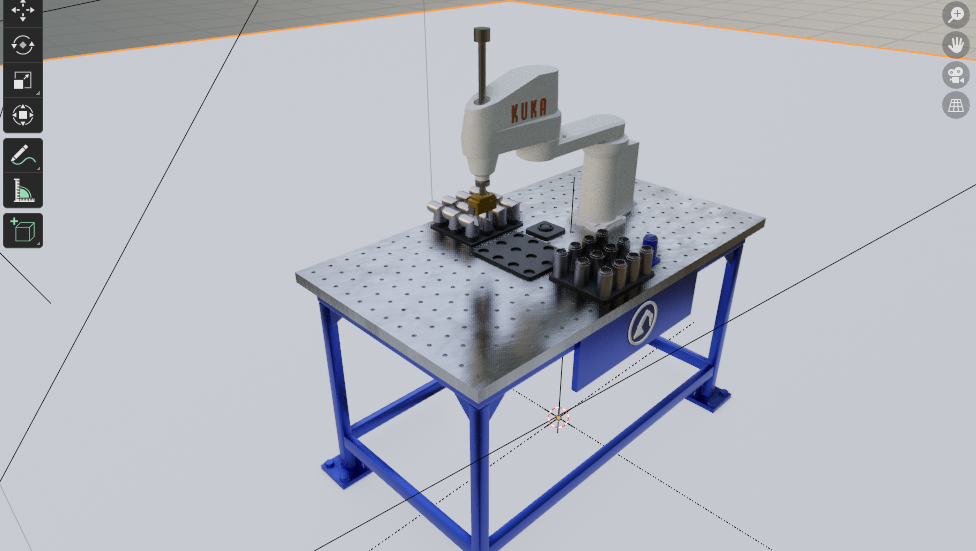
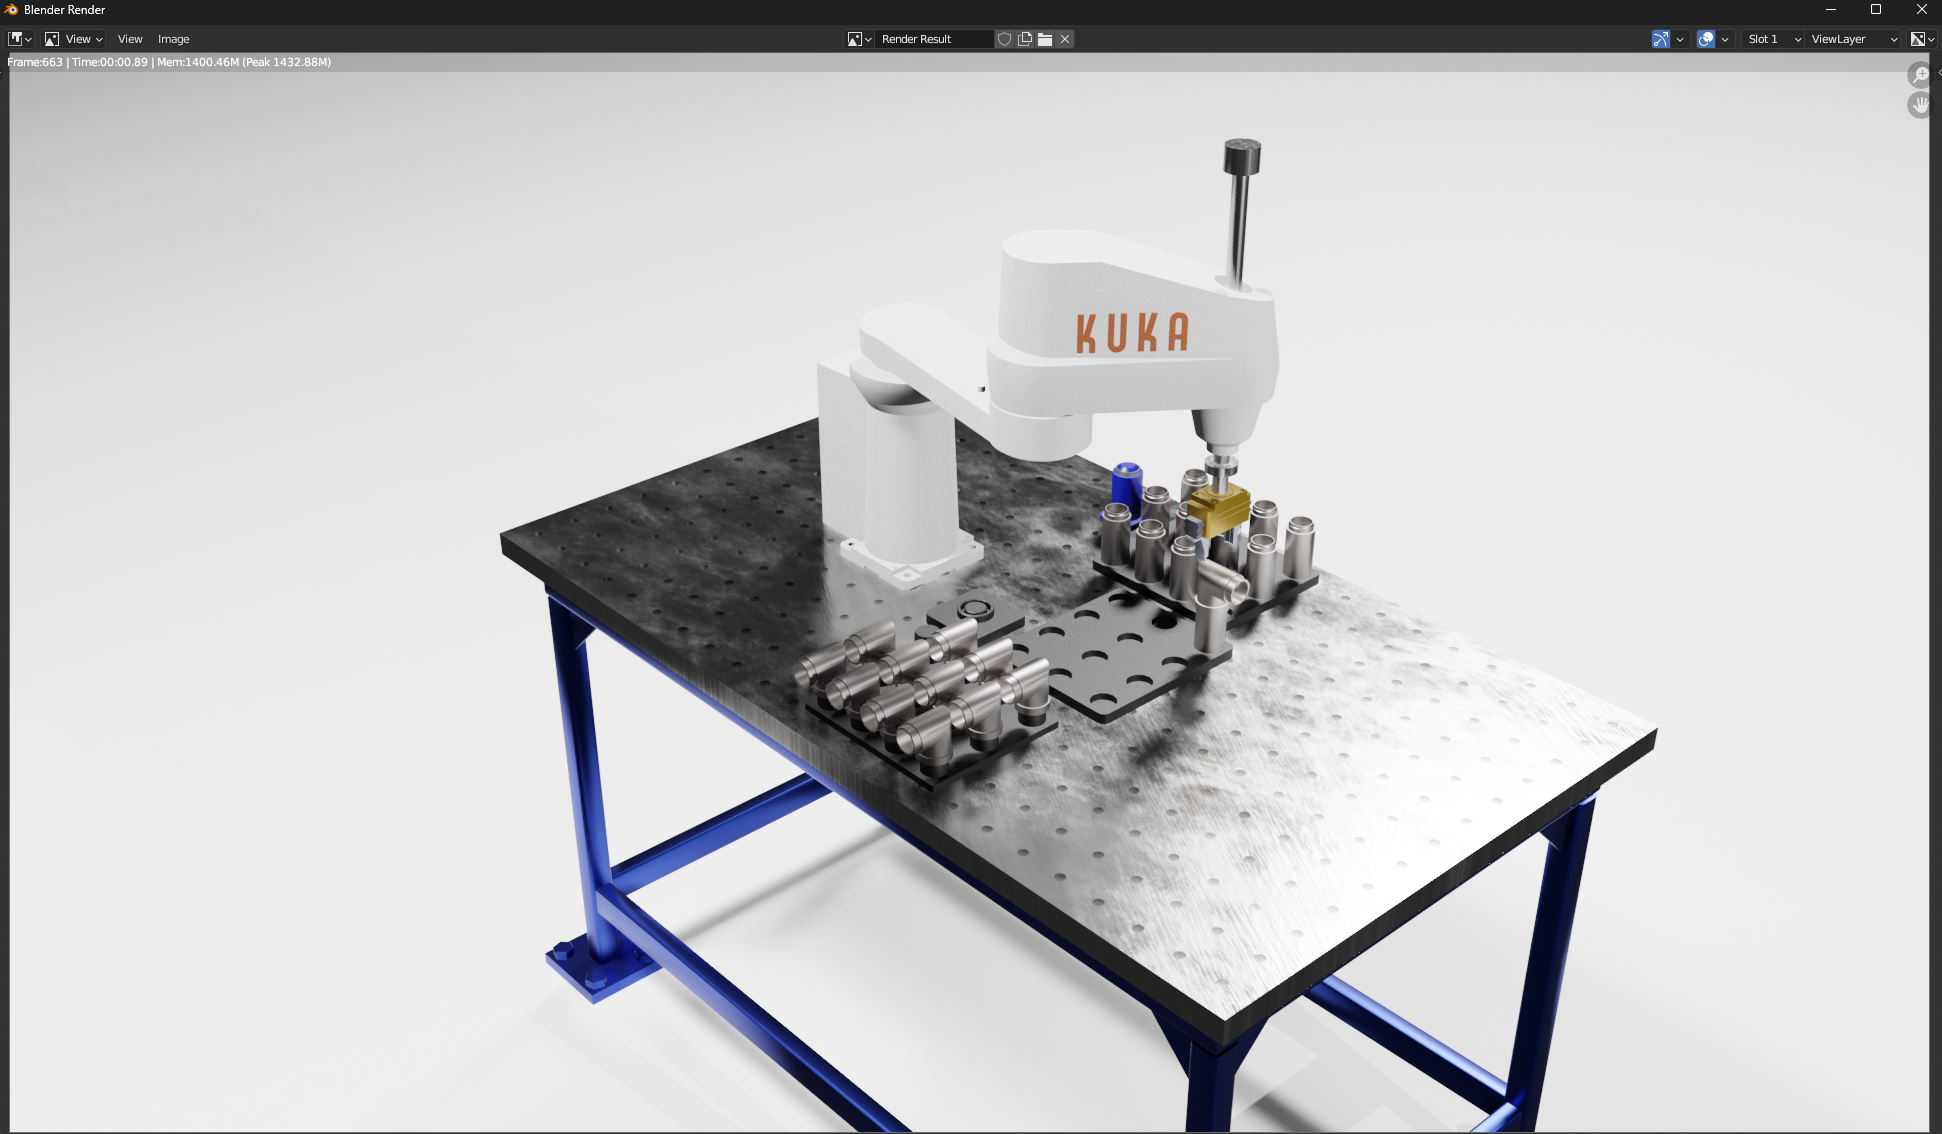
It is important to use the render function to preview the final effects. Below is an example of the viewport versus the render image preview:
Rendering
This section will guide you through the steps to generate a video render of your animation in Blander.
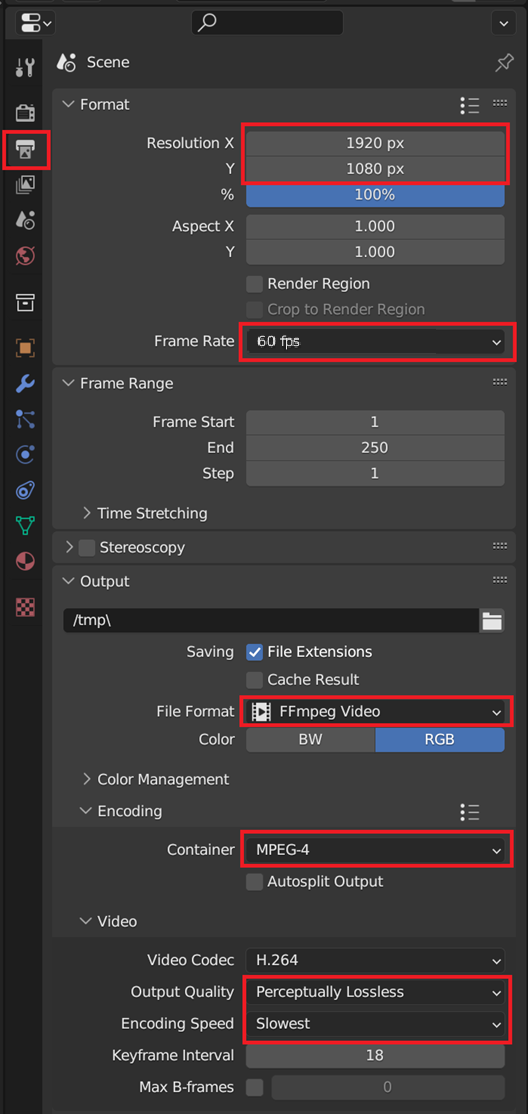
Follow these steps to generate the output of your Blender animation:
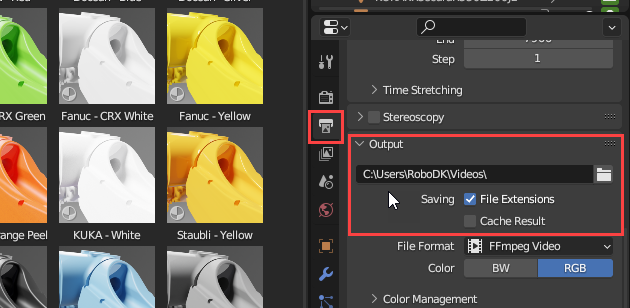
1.Open the Output properties on the sidebar (printer icon).
2.Set the resolution and frame rate in Format.
3.Set the file format for FFmpeg in Output.
4.Set the container to MPEG-4 in Encoding.
5.Set the output quality to Perceptually Lossless and the encoding speed to Slowest in Video.
6.Make sure the output path is the one you want (default is /tmp/)
7.Click on the camera icon just above named “Render”
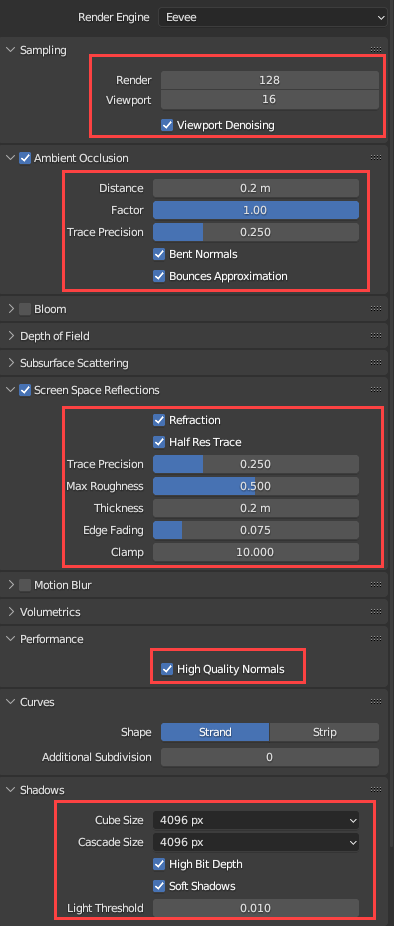
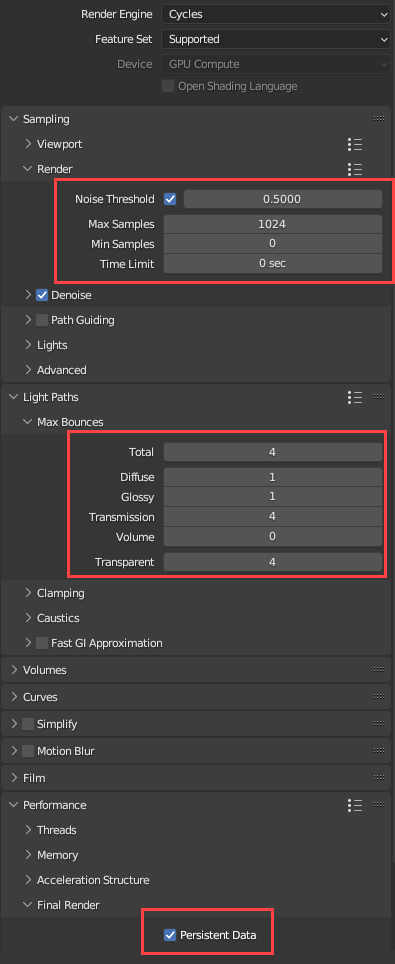
8.Choose a render engine between Eevee or Cycles. Some sample settings are provided below. Render your animation with Render➔Render Animation or CTRL+F12.
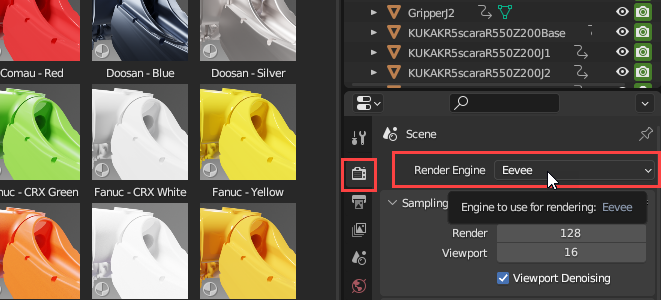
Cycles sample settings:
Eevee sample settings: